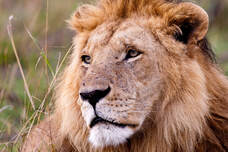
lion Wip
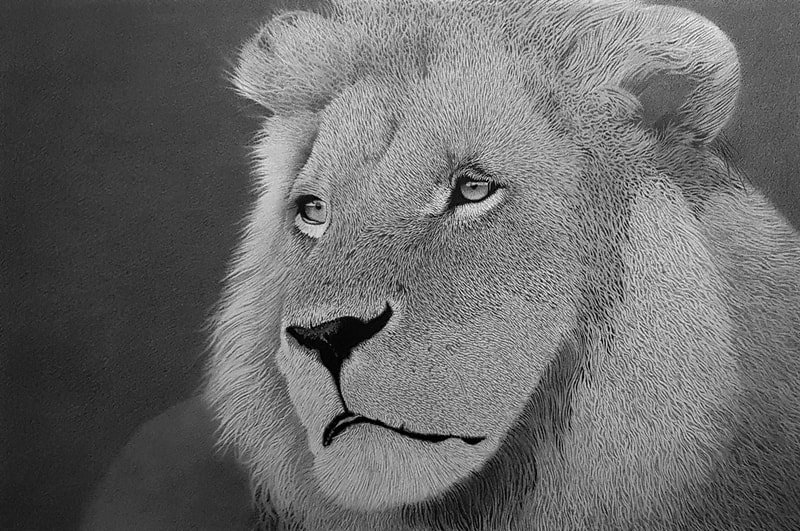
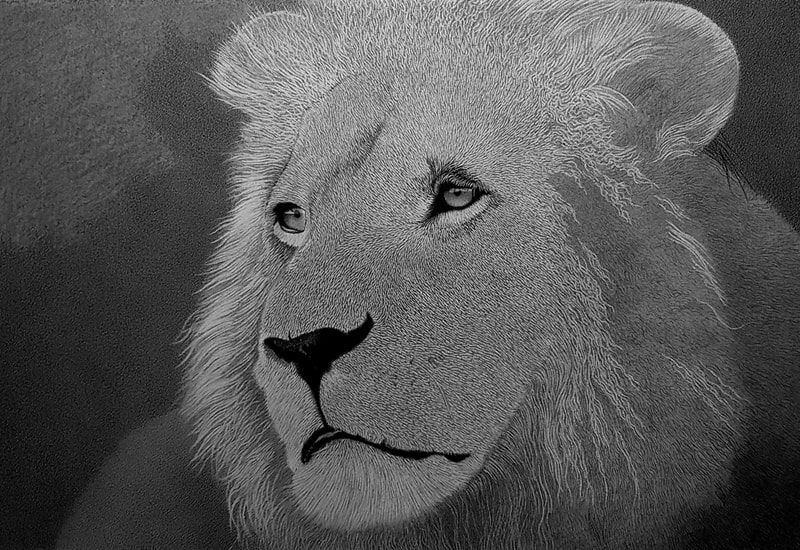
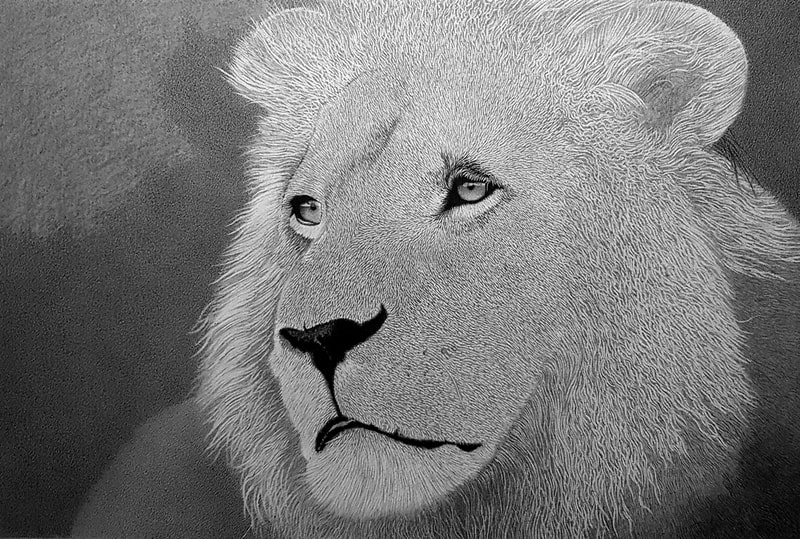
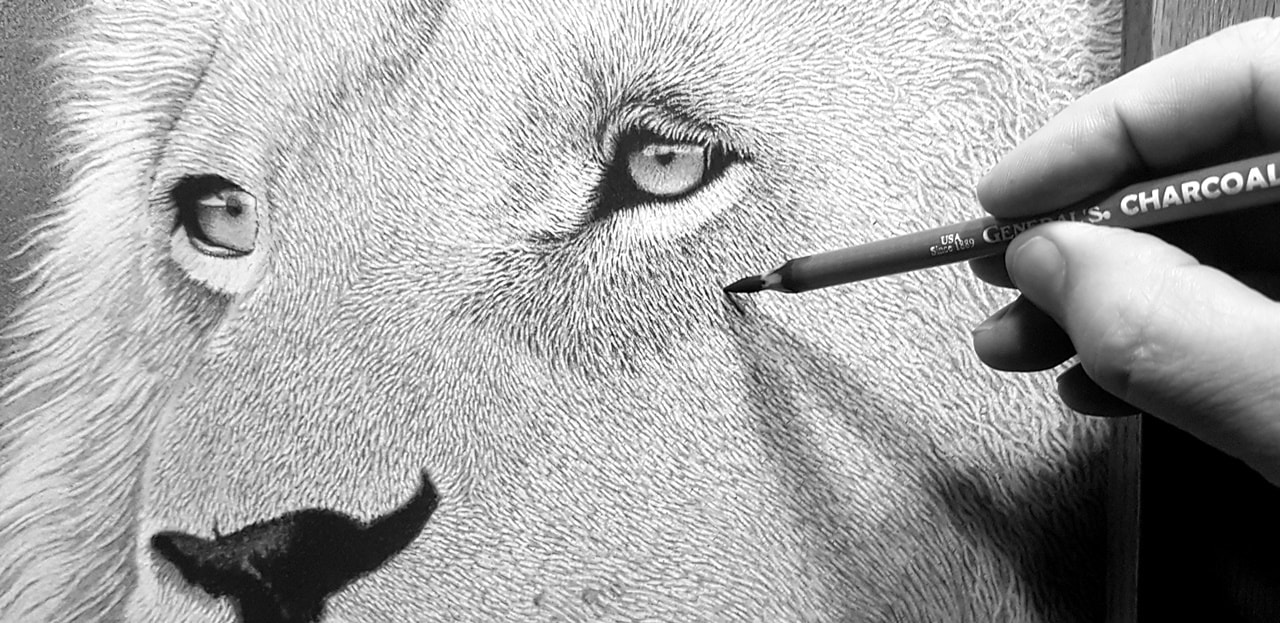
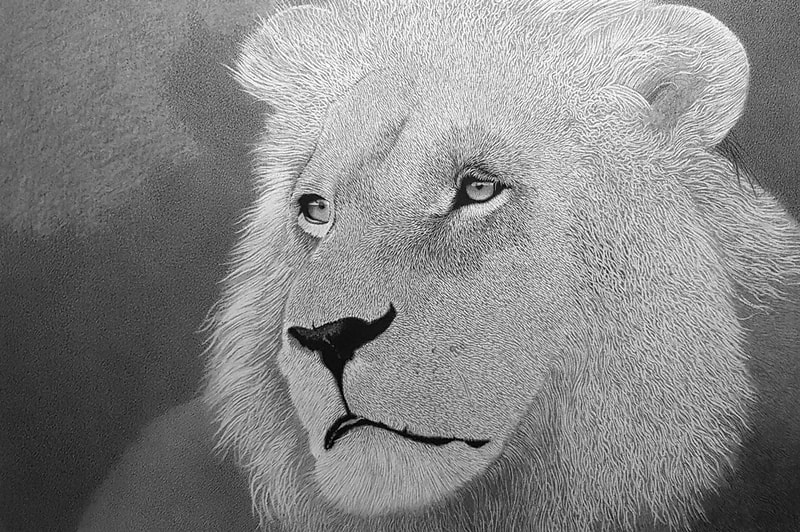
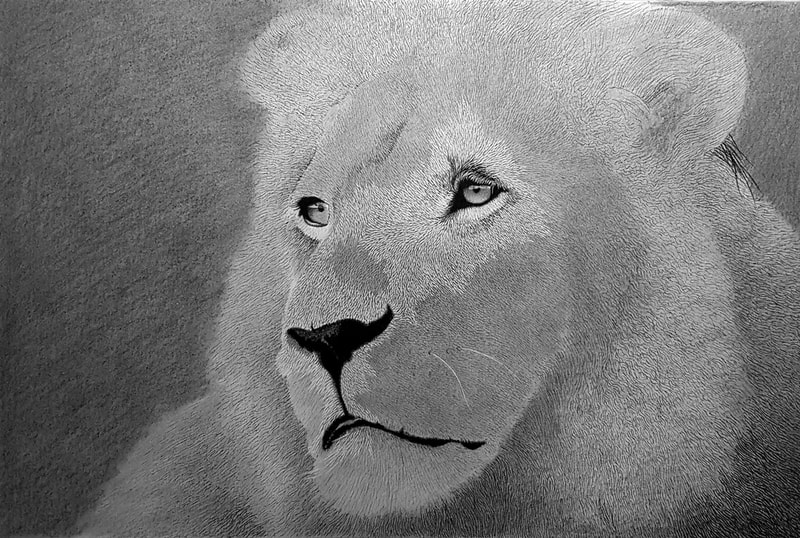
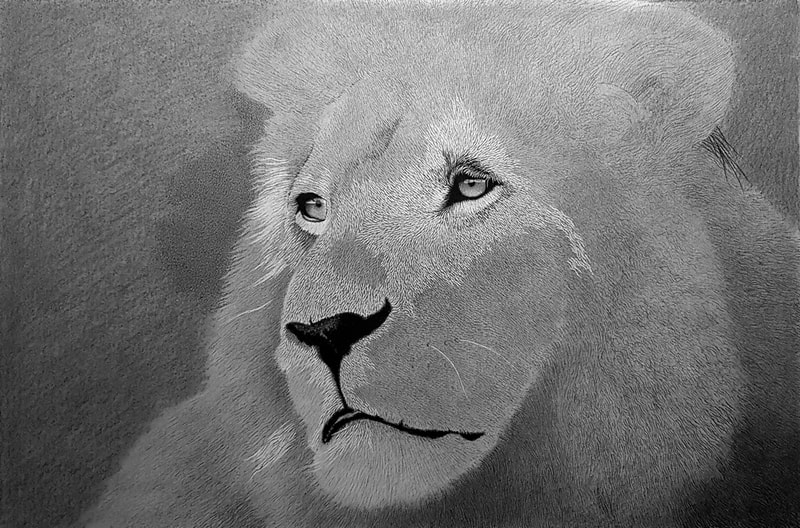
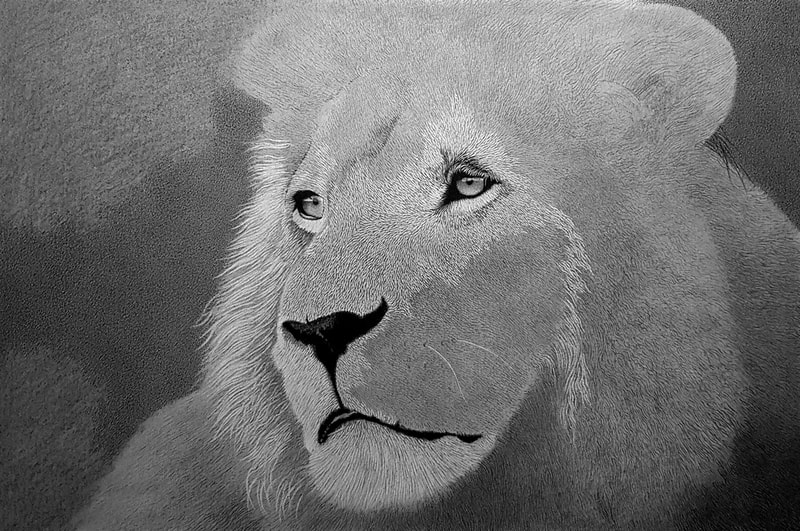
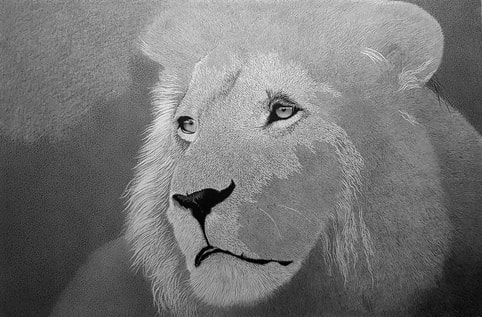
Start of Post 10 WIP (May 11, 2020)
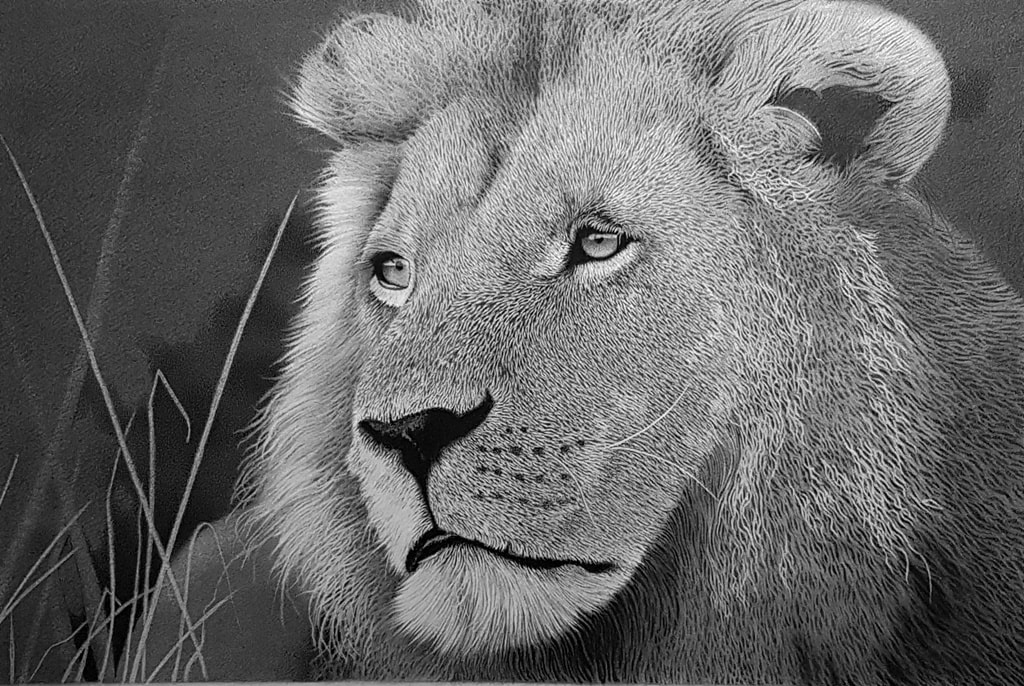
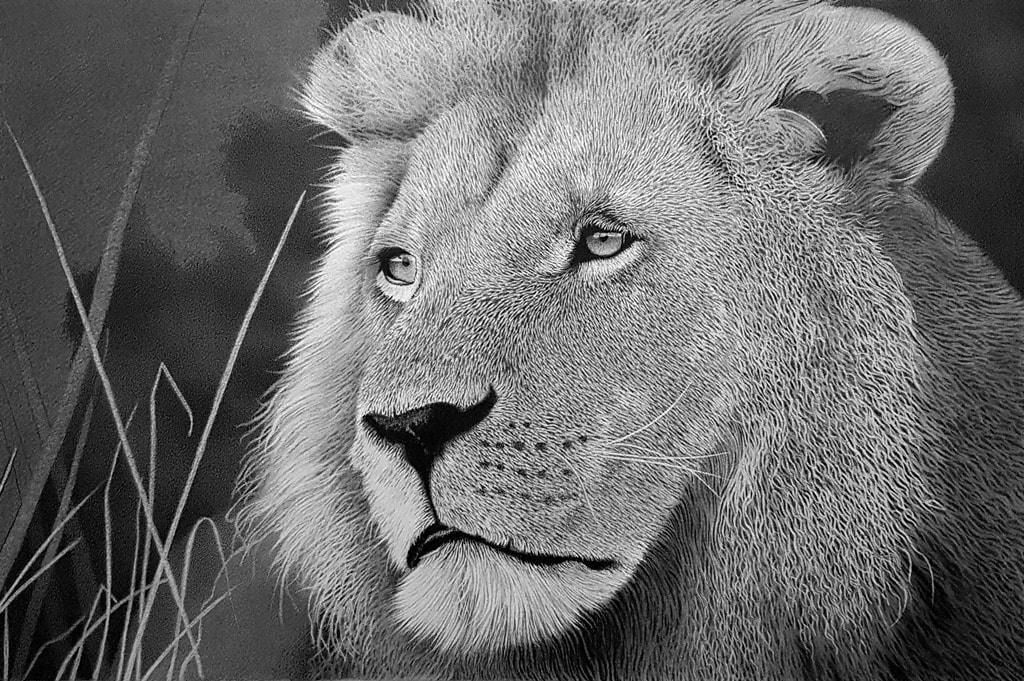
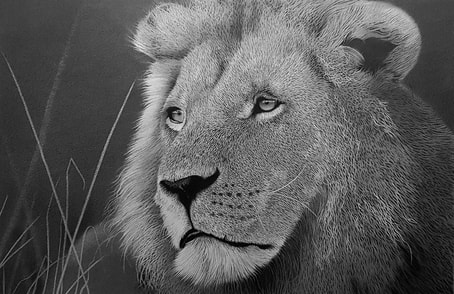
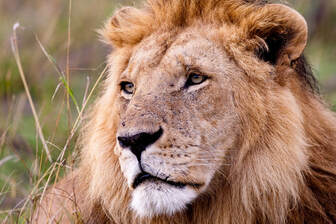
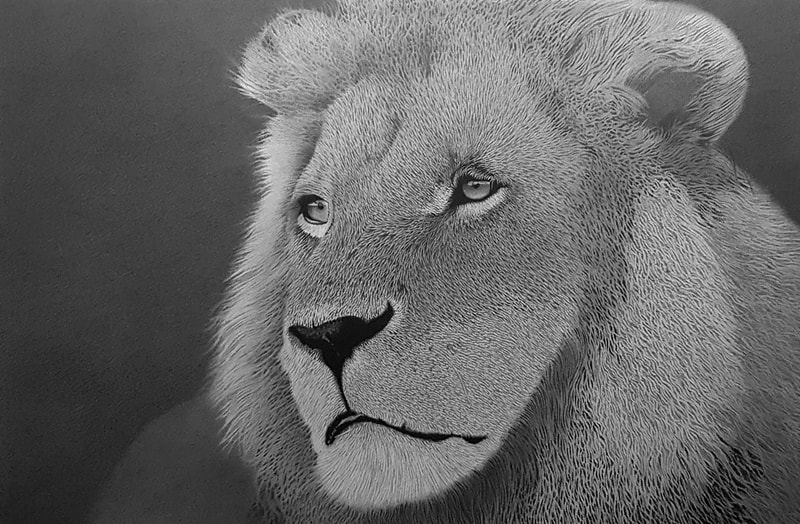
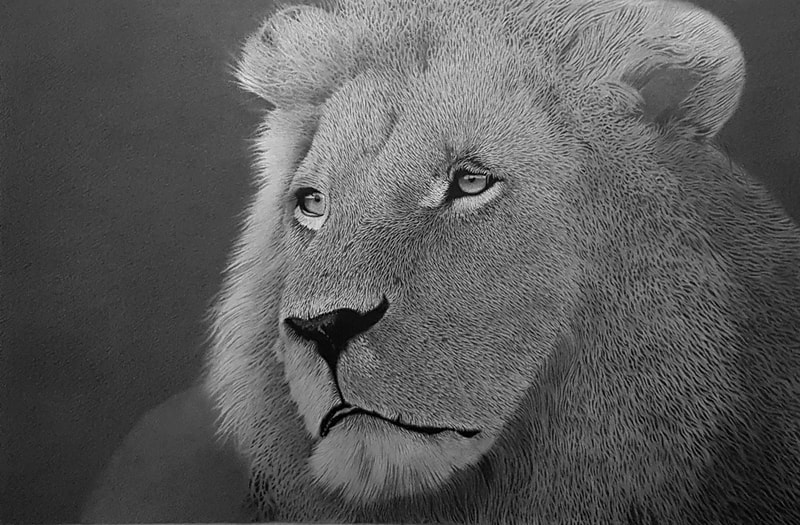
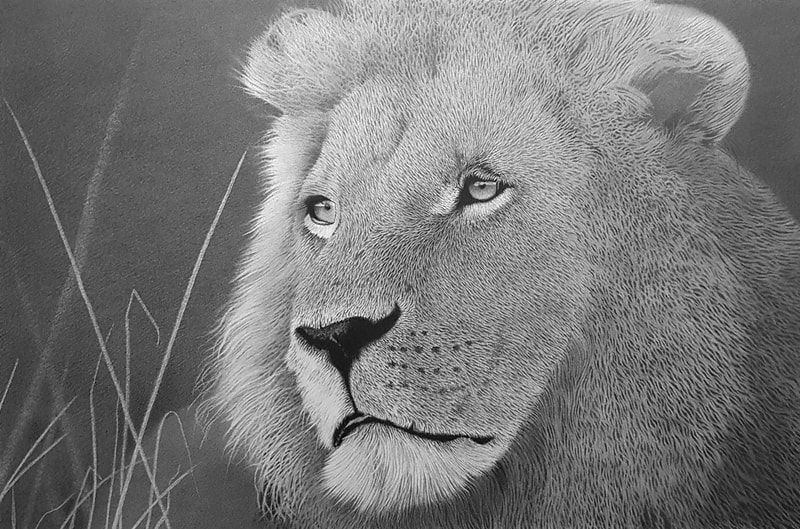
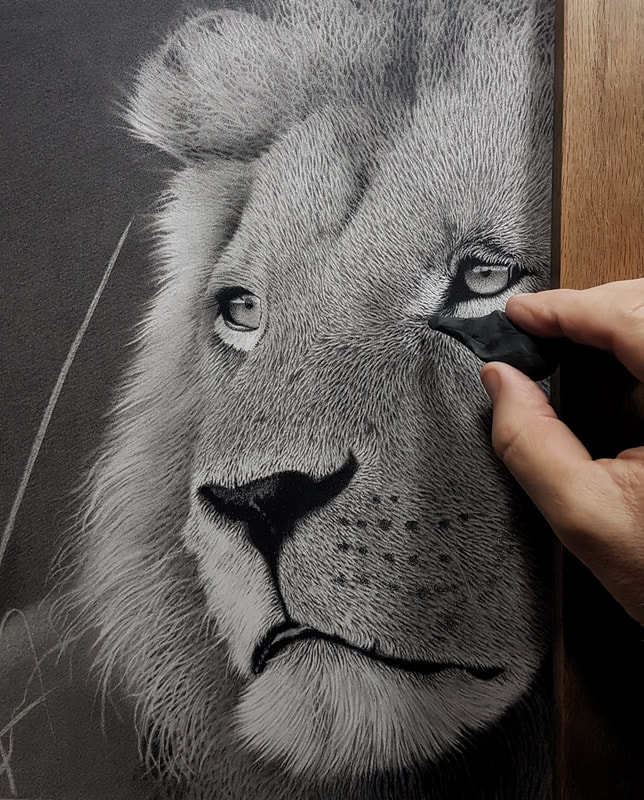
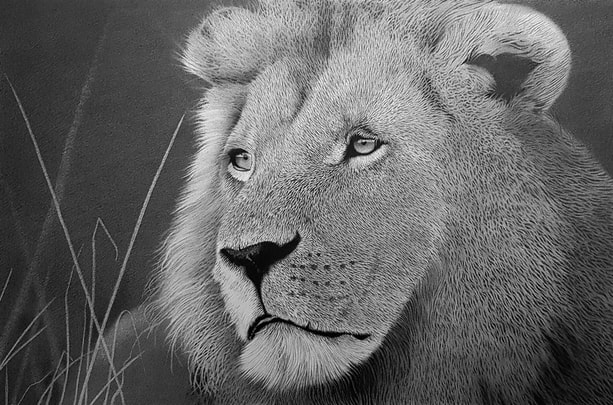
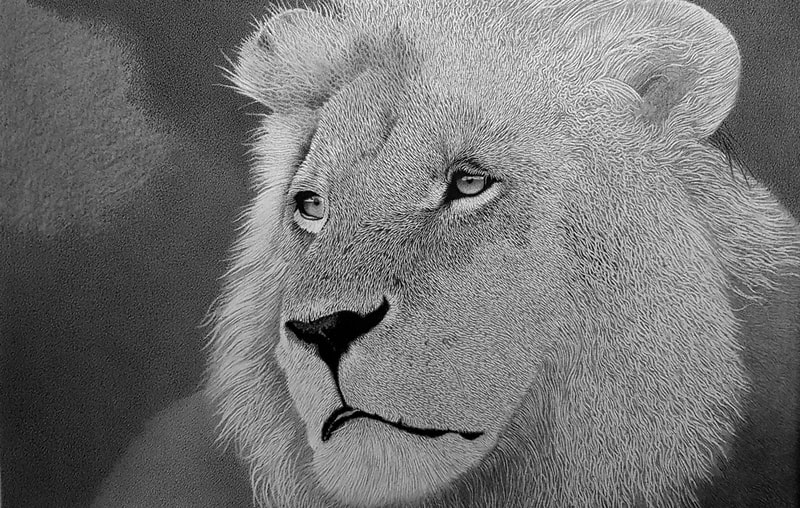
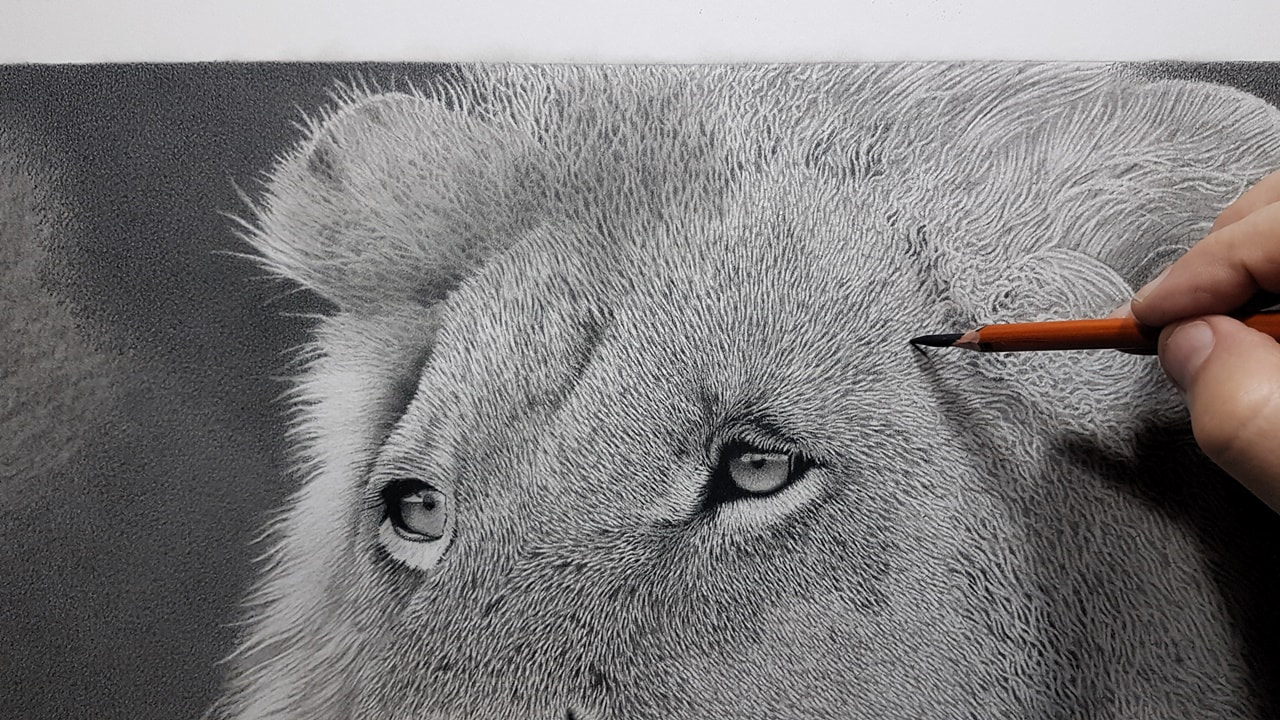
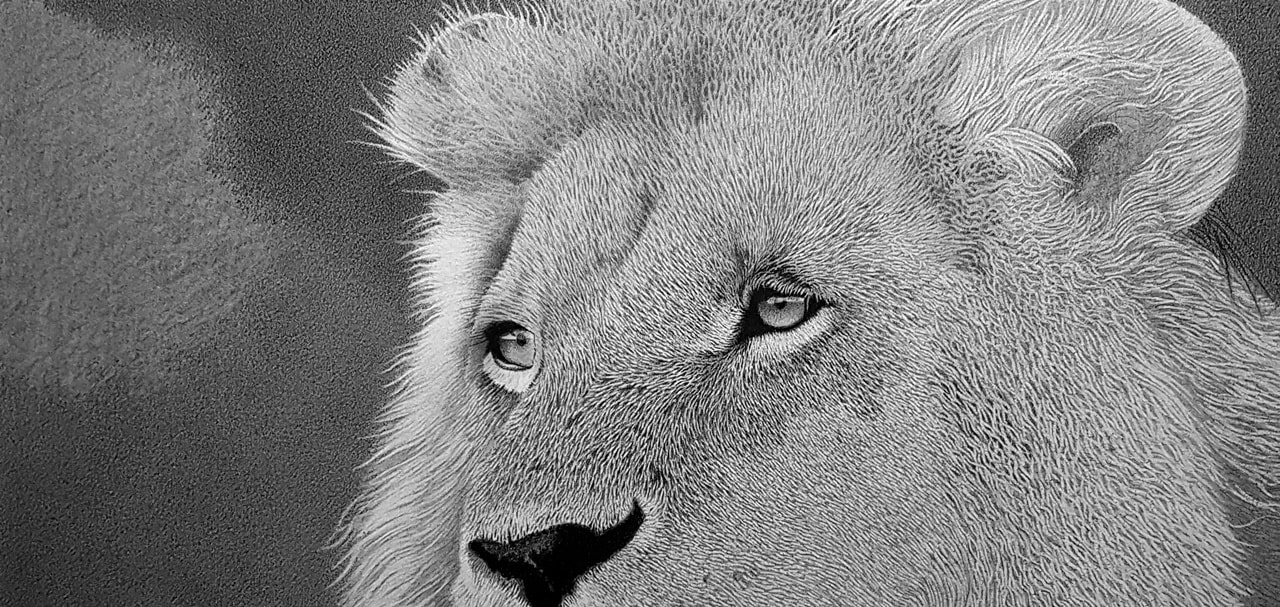
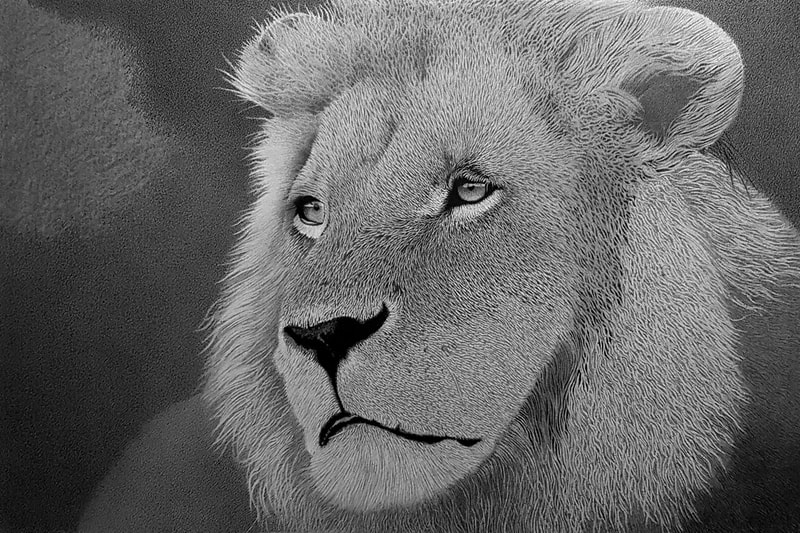
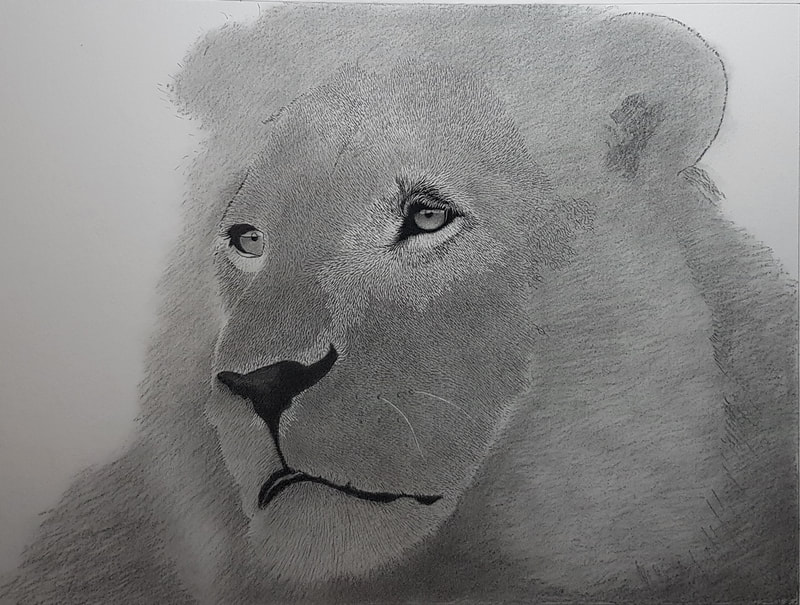
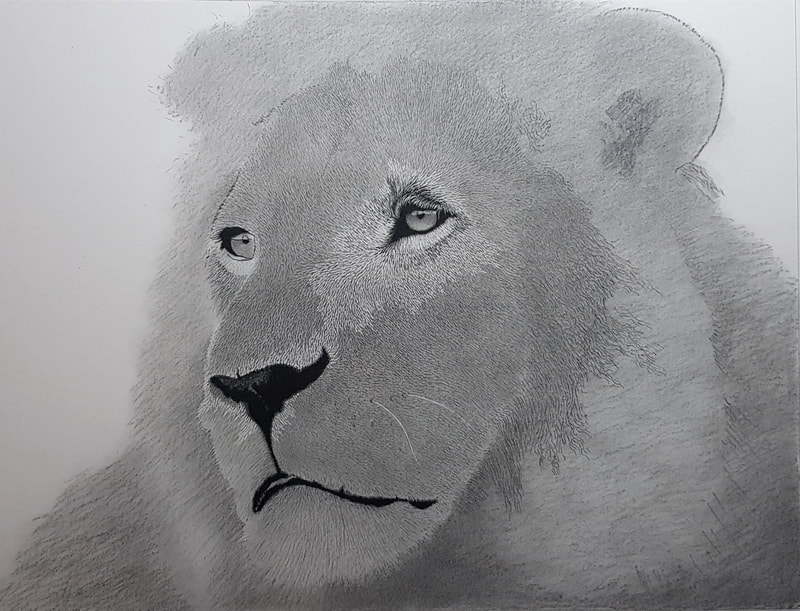
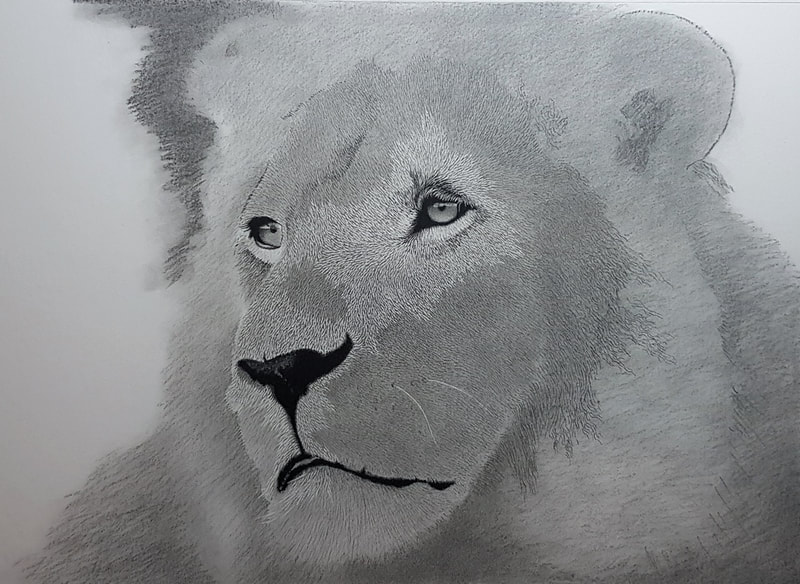
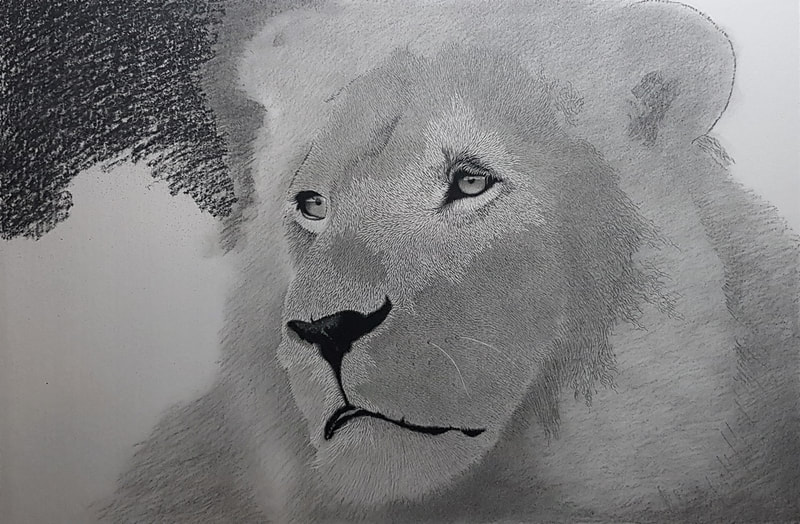
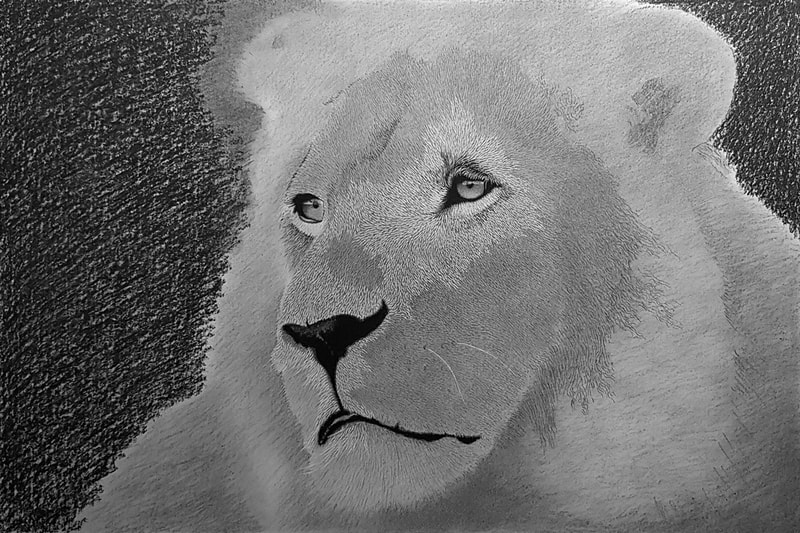
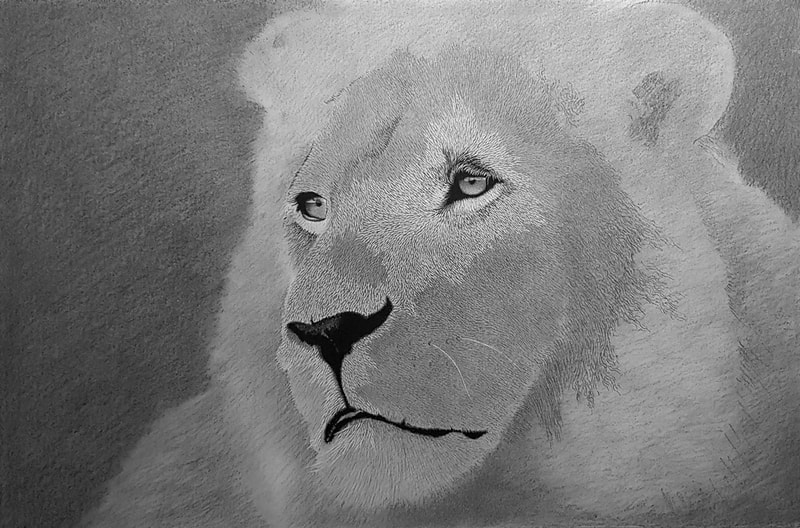
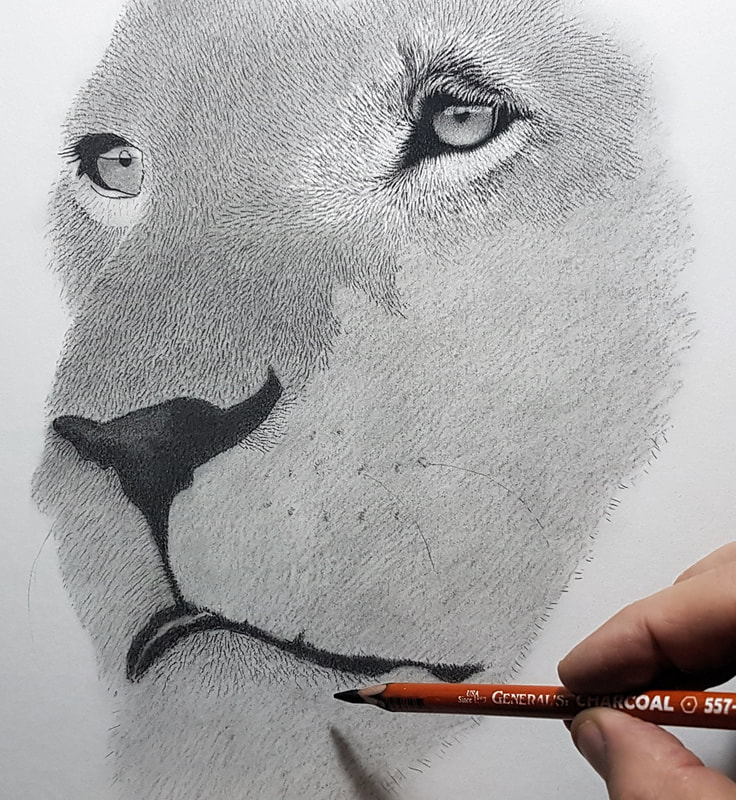
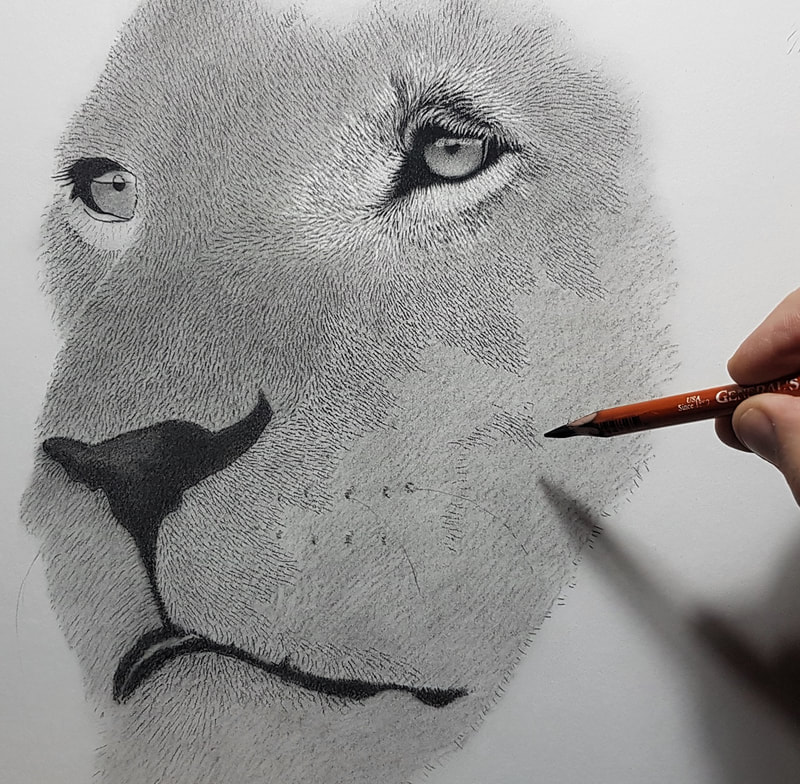
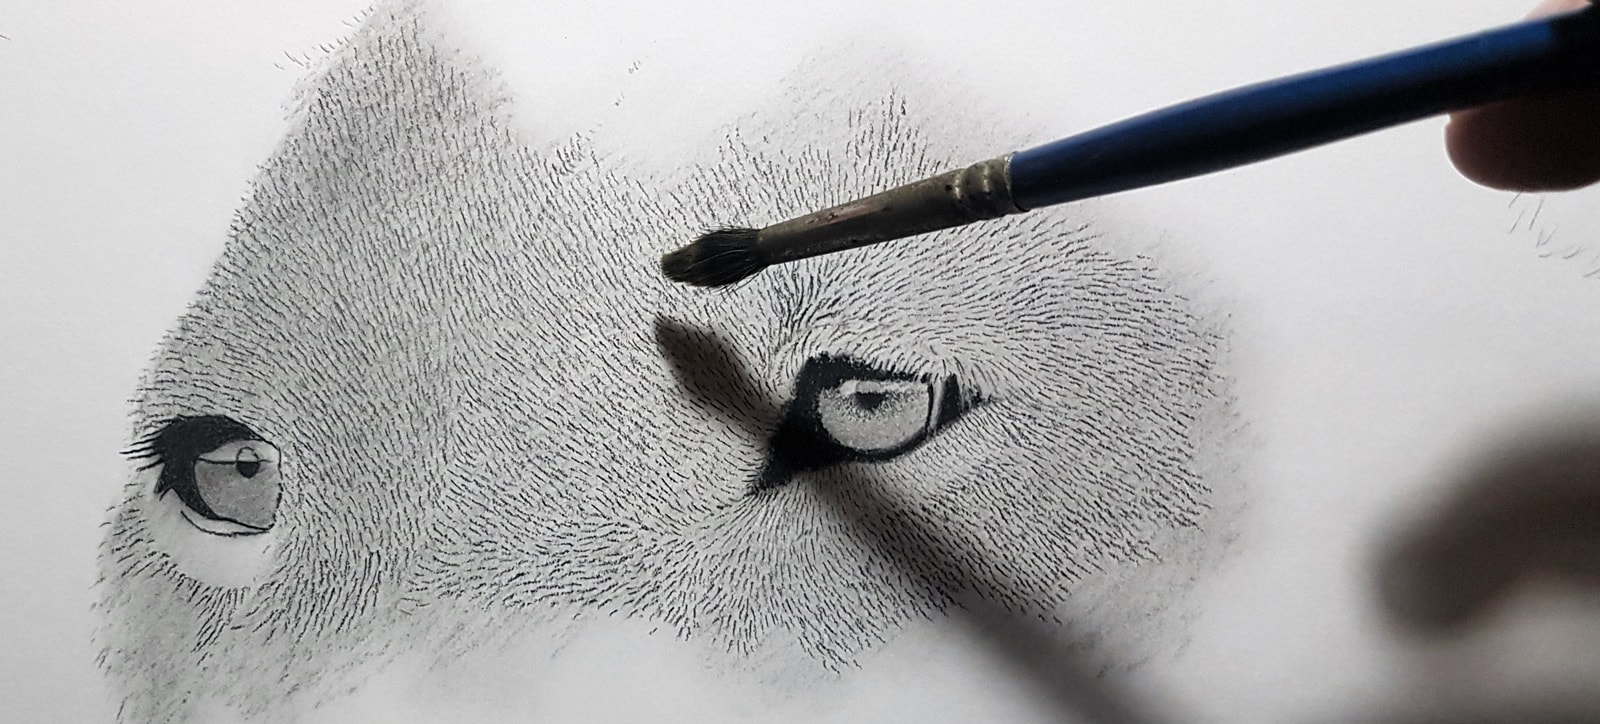
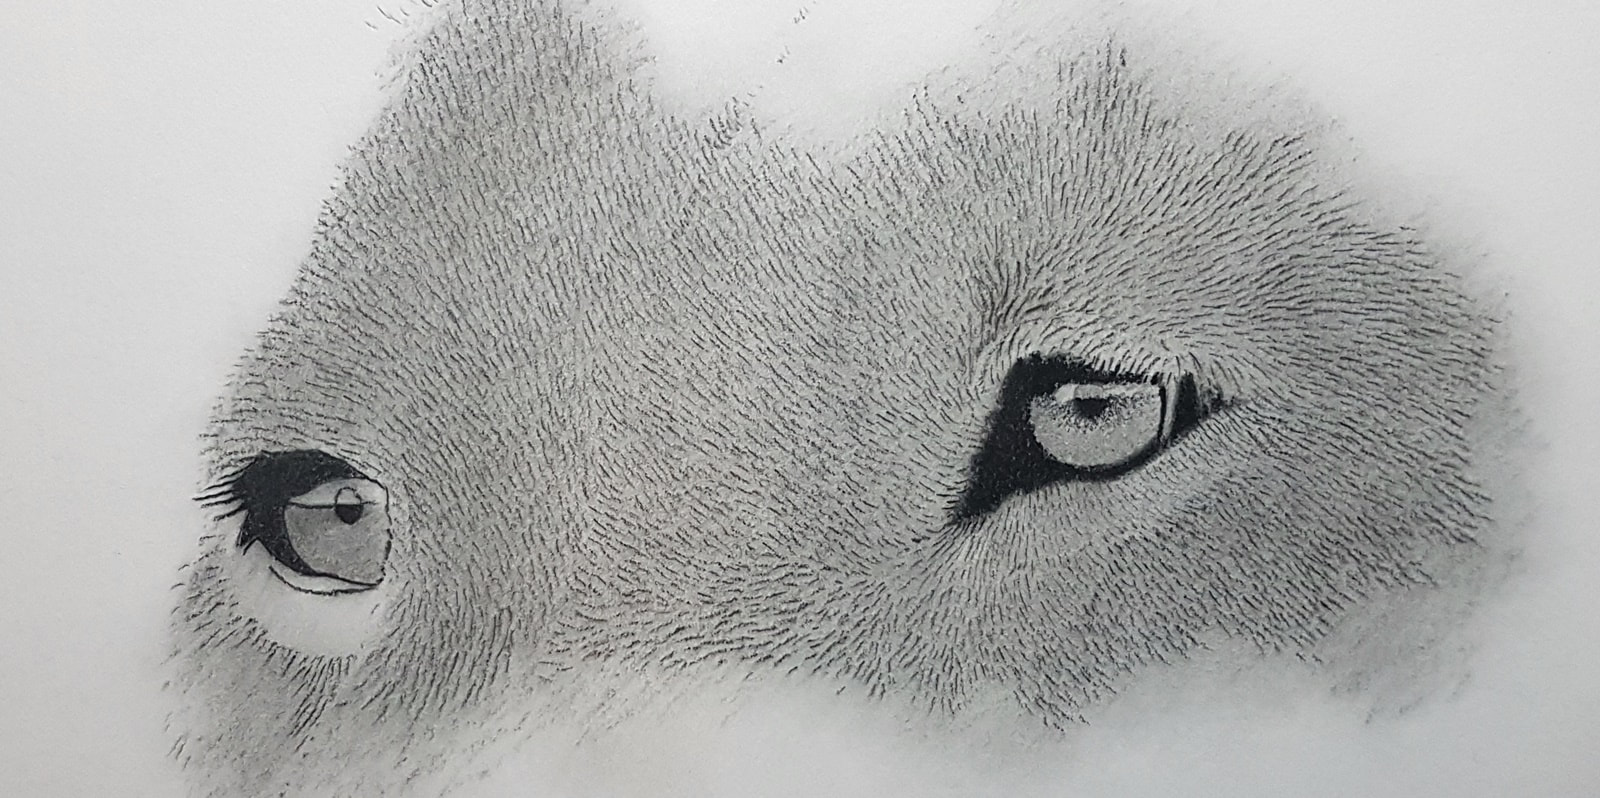
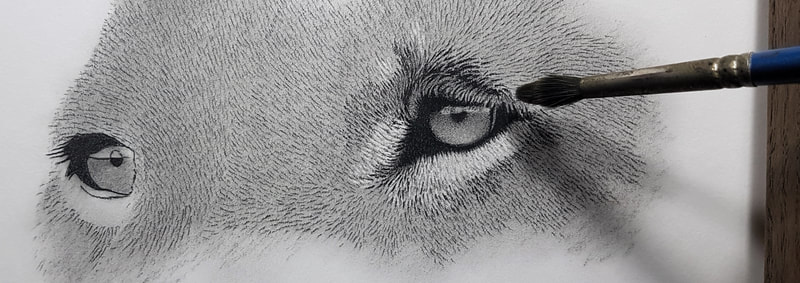
These 2 images are showing how I'm creating layer after layer of light and dark to amplify character and depth. The 2nd image phot is a bit lighter so concentrate mainly on the tone level of the first image. You can see that I'm creating a darker background to accentuate the 3d effect of the main portrait. I'm constantly building up on the highlighting and darkening strategically where need for shadow. This give and take process makes up a good 50% of the project. This type of subject matter has so much fine fur detail it will take me into the 80 to 100 hour bracket!!
Start of Post 9 WIP (May 1, 2020)
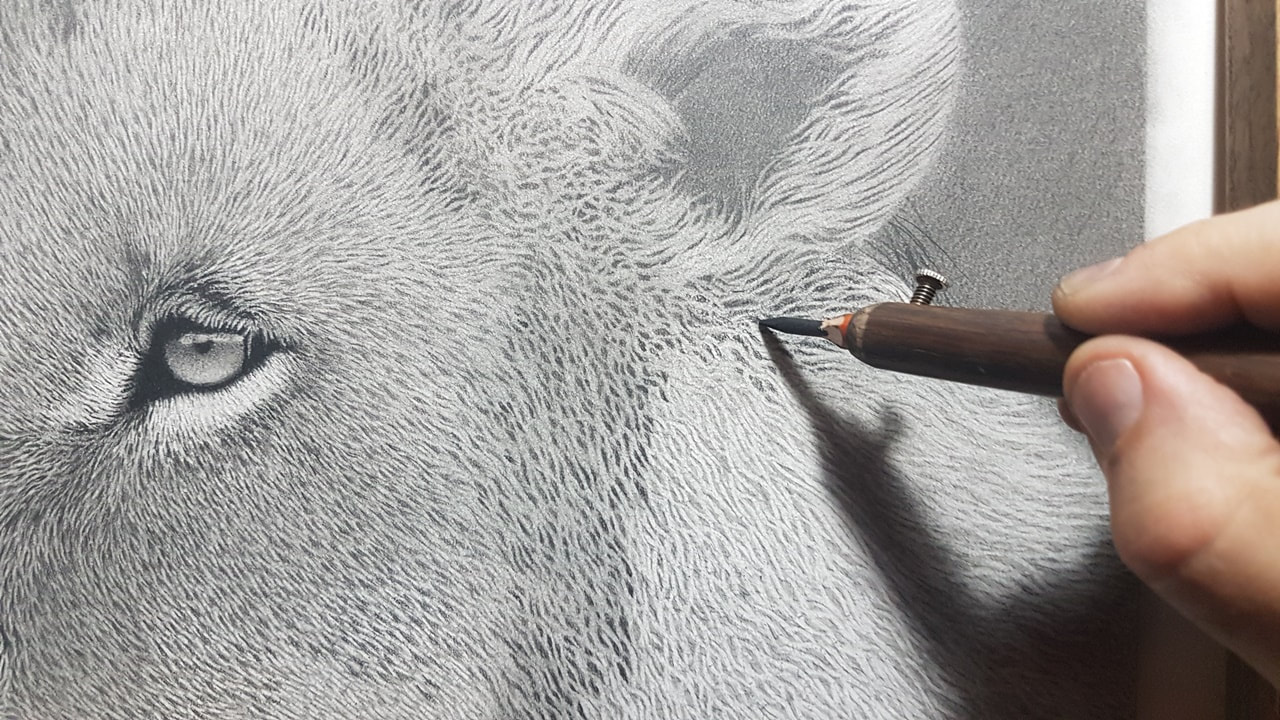
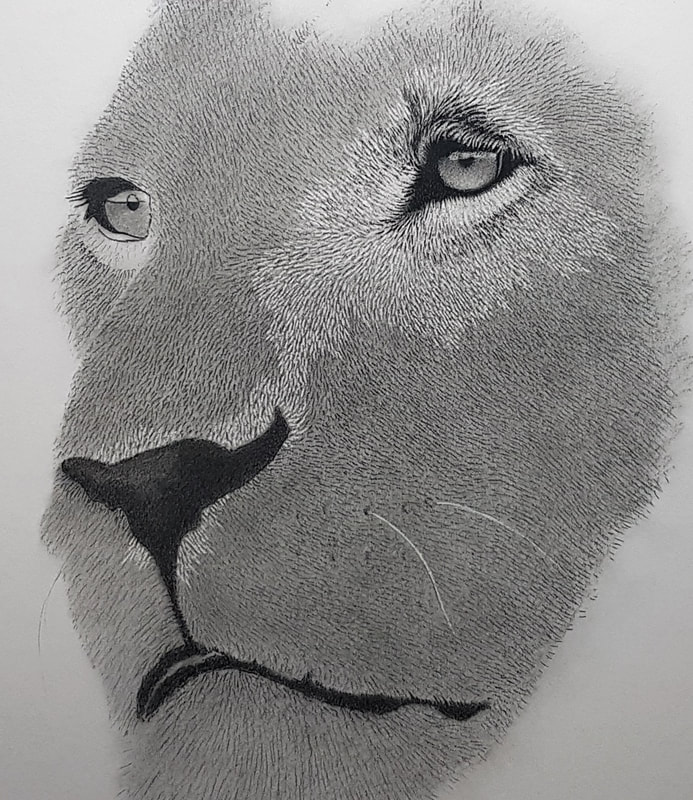
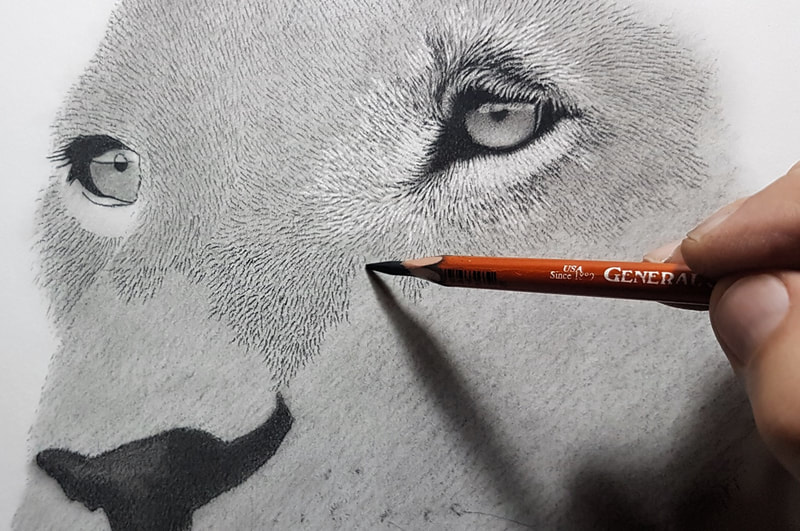
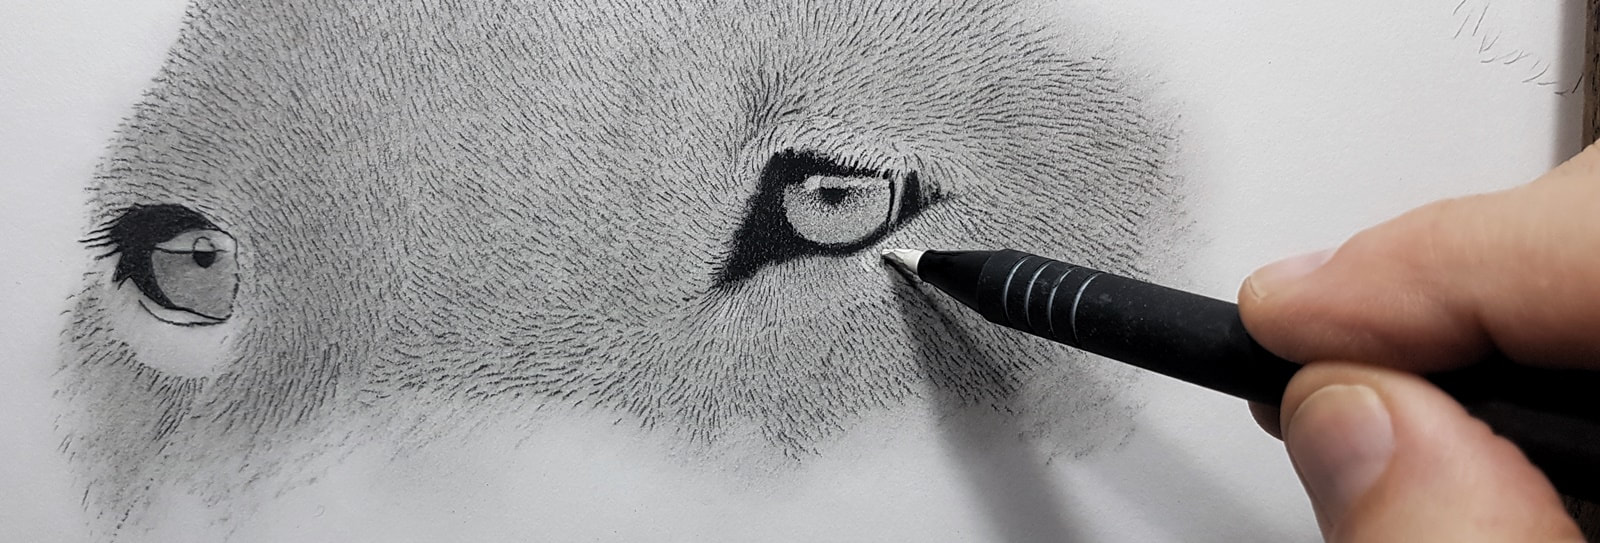
The lion WIP is moving along well so far as you can see his character is starting to define. I'm continuing the fur highlighting using my kneaded eraser and eraser stick pencil to map out all the directions. Once all the strategic areas are lightened I will return to darkening the areas of less light and shadows. This stage will definitely create the depth and bring him to life. Lots of work to do yet!!
Still working on the eraser highlighting. More detail to map out the areas of light so I can know where to darken shadow areas. Had to throw in a couple whiskers..lol!
Start of Post 8 WIP (April 25, 2020)
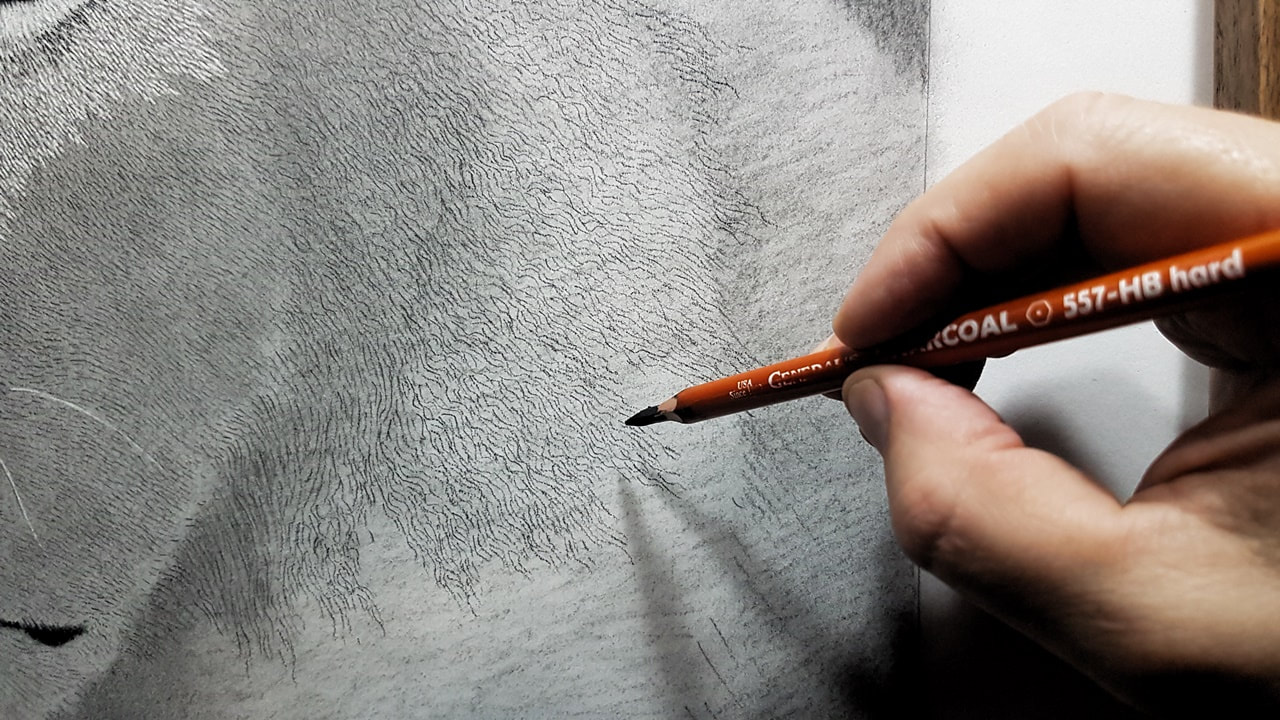
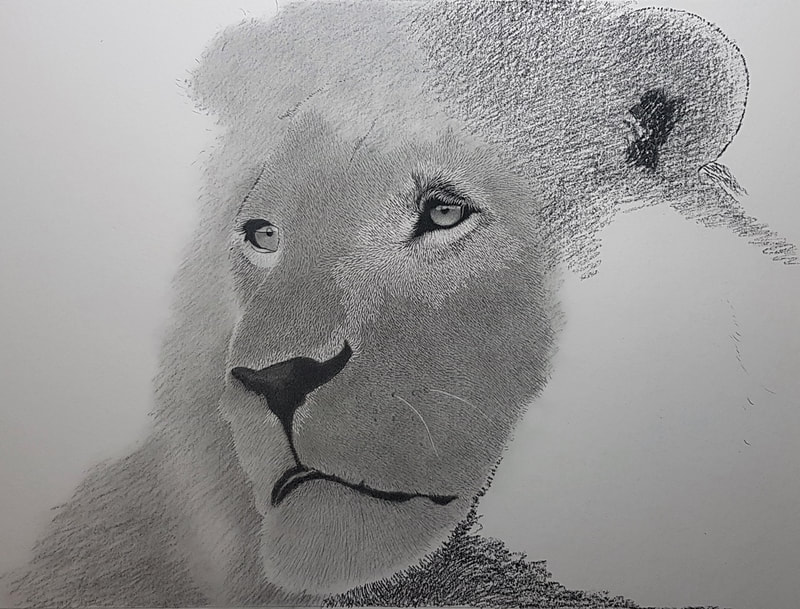
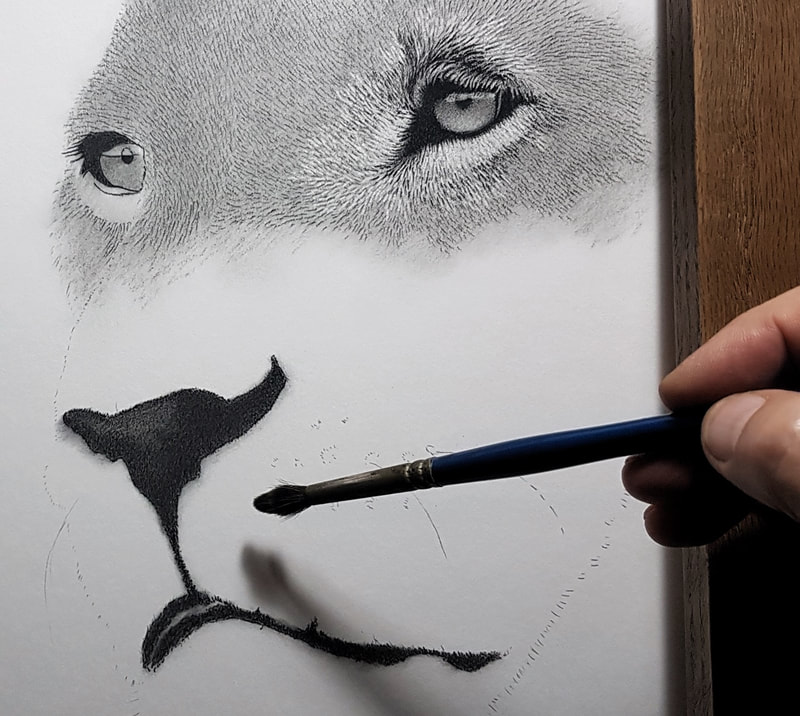
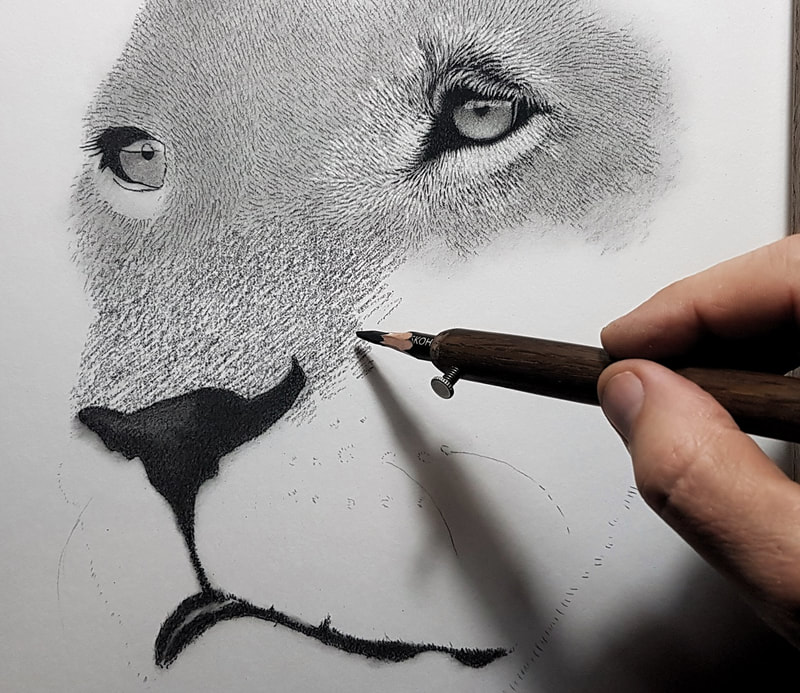
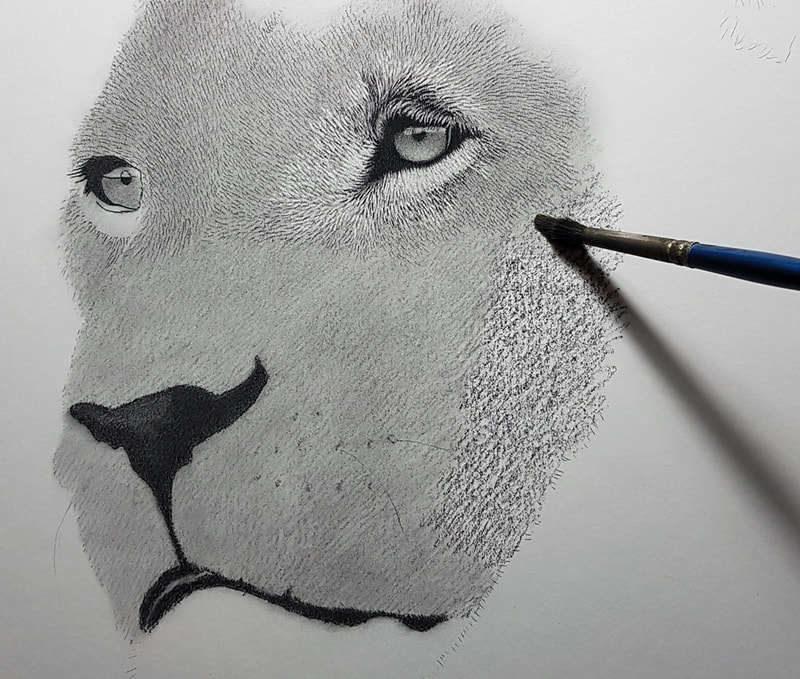
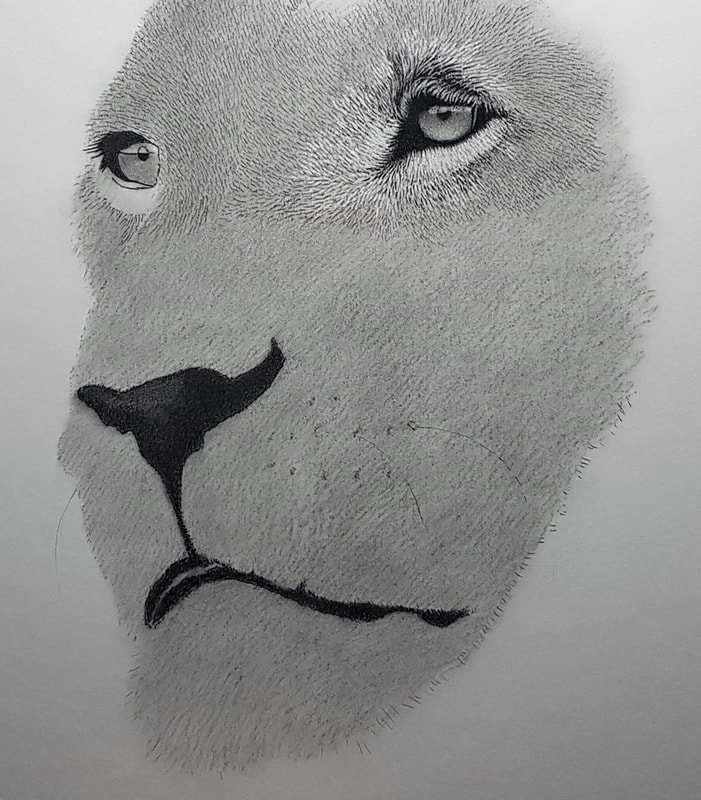
Both these images are a continuation of General HB charcoal application marking the shadow areas of the fur pattern. It seems like it takes forever especially when its a large piece. This is absolutely critical to the depth I'll be looking for when I start with the eraser highlighting.
Ok, these 2 images indicate some eraser highlighting. Image 1 shows the grass I'm adding using my pencil eraser. Image 2 shows the start of the 2nd stage of fur highlighting. You can see now that there are many layers to fur realism. This is my style and there are many ways to accomplish this but I find this process the most realistic and gives the illusion of multiple layers of fur depth.
Here is where I am today. You can see that I've started to define more highlights and also began some General 2B charcoal. Lots more dark and light to go almost 50% done...LOL
Start of Post 7 WIP (April 18, 2020)
These 2 images are showing the General HB charcoal shadow detailing following the eraser detailing I created prior to this stage. I'm also filling in the background with HB charcoal slightly darker before I blend it with my brush.
These images are showing the continuation of this process indicated above. As you can see this is a very long process. This stage marks the 3rd time I've been over the same area.
Image 1 shows a close up of the application of HB charcoal. Image 2 indicates more of the same and now the background is blended with the brush and ready for grass eraser technique, this will be cool!! Starting to look good now that some character detail is forming. I've also blended this area with the brush and will continue to do this to build up darkness. The last stage of fur detail is always the lightest and will be created using eraser detail. I have to achieve the darkest tones first.
Start of Post 6 WIP (April 11, 2020)
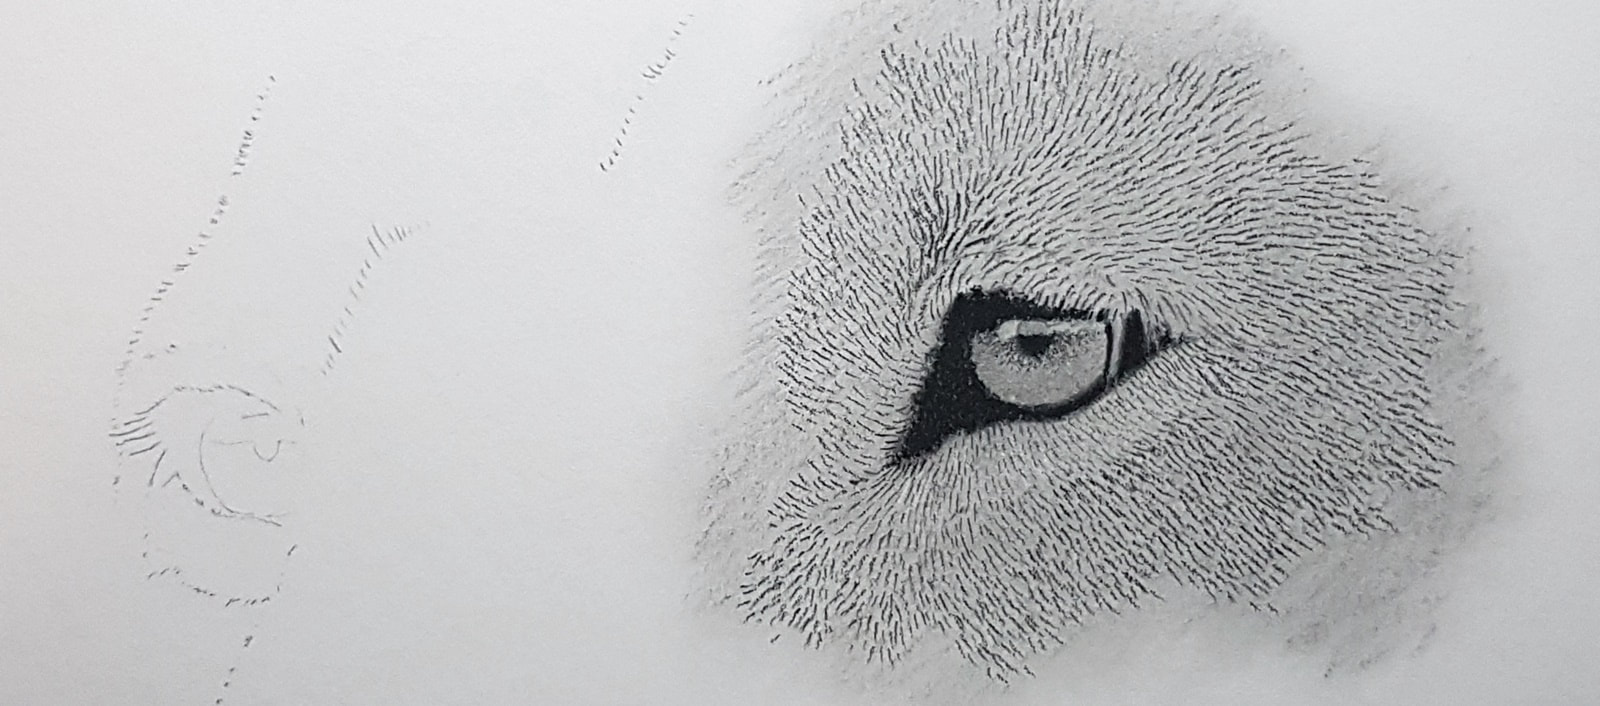
Welcome back to the continuing highlight stroking with the eraser technique. Lots of time has been put into mapping out the direction of highlighted fur. Again, to emphasize on the necessity that we need this stage to begin the charcoal detailing. Just about done with the mapping.
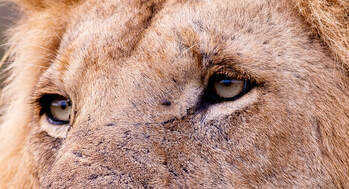
Thought I would start a bit of the charcoal detailing around the eye to give you a glimpse of what's to come. There will be a lot of filling and strategic application of charcoal following the characteristics of the fur. I will constantly go back and forth looking at the reference fur to keep close to the accurate markings. Of course the reference is a guide and I will make fur densities up as I go.
Start of Post 5 WIP (April 8, 2020)
Ok, as you can see I'm continuing on with the fur direction stroking paying real close attention to the reference photo. I can't stress enough how important this stage of the drawing is and how this will effect the tones and transitions that come after. The character of the lion's fur is how it is in nature and keeping that pattern will reflect on how real you want to him to look. You are literally bringing him to life one fur stroke at a time. Yes it is time consuming but this is the essence of drawing realism. The second image shows more of the eraser stroking, the same process as the charcoal strokes, but indicates highlights instead.
You can now see that I'm starting to fill the background with General HB charcoal but this time I will not blend. It is important to keep this charcoal pencil sharp so you can keep a nice tight shade. The smoother you can keep it the better so when the grass is taken away with eraser techniques it will be sharp and clear. I will blur on purpose though to look out of focus like a camera, it's a neat effect and puts more of a dramatic emphasis on the subject. More eraser highlighting happening as well. Just in case your wondering how large this piece is here you go, 13 x 20 inches a good, what I call, wow factor size.
Moving along with the whole process and now you can see a better example of the pattern emerging. Again it's very critical to complete this stage prior to the darkening and detail shading so you know exactly where to go and what direction. His character will emerge as this process gets further along. I really enjoy the detailing stage coming up but that is time consuming as well but starts to get really rewarding quick.
Start of Post 4 WIP (April 5, 2020)
Image 1 shows the continuation of the pencil eraser fur direction highlighting.
Image 2 indicates the continuation of the #3 hard charcoal fill on the way to completing the lion's head initial charcoal layer.
Image 3 shows the whole lion head area filled in with #3 hard charcoal and blended with the brush. The next step is to continue the shadow fur direction pattern throughout the whole lion head area with HB General charcoal. This process is very time consuming but critical to capture the realistic fur characteristics of the male lion.
Image 1 is the continuation of the time consuming shadow and highlight pattern application. I have also darkened the eye area and nose and mouth area with 4B General charcoal.
Image 2 is more of the same from image 1 and now a bit of the background fill is started with #3 hard charcoal.
Image 3 shows more background fill.
Image 2 is more of the same from image 1 and now a bit of the background fill is started with #3 hard charcoal.
Image 3 shows more background fill.
Image 1 shows the whole composition touched now with the #3 hard charcoal base roughly applied. More highlight and shadow direction fur pattern is continued as well.
Image 2 shows the background blended with the brush and now ready to apply highlighted and darkening detail everywhere on the composition.
Image 2 shows the background blended with the brush and now ready to apply highlighted and darkening detail everywhere on the composition.
Start of Post 3 WIP (April 3, 2020)
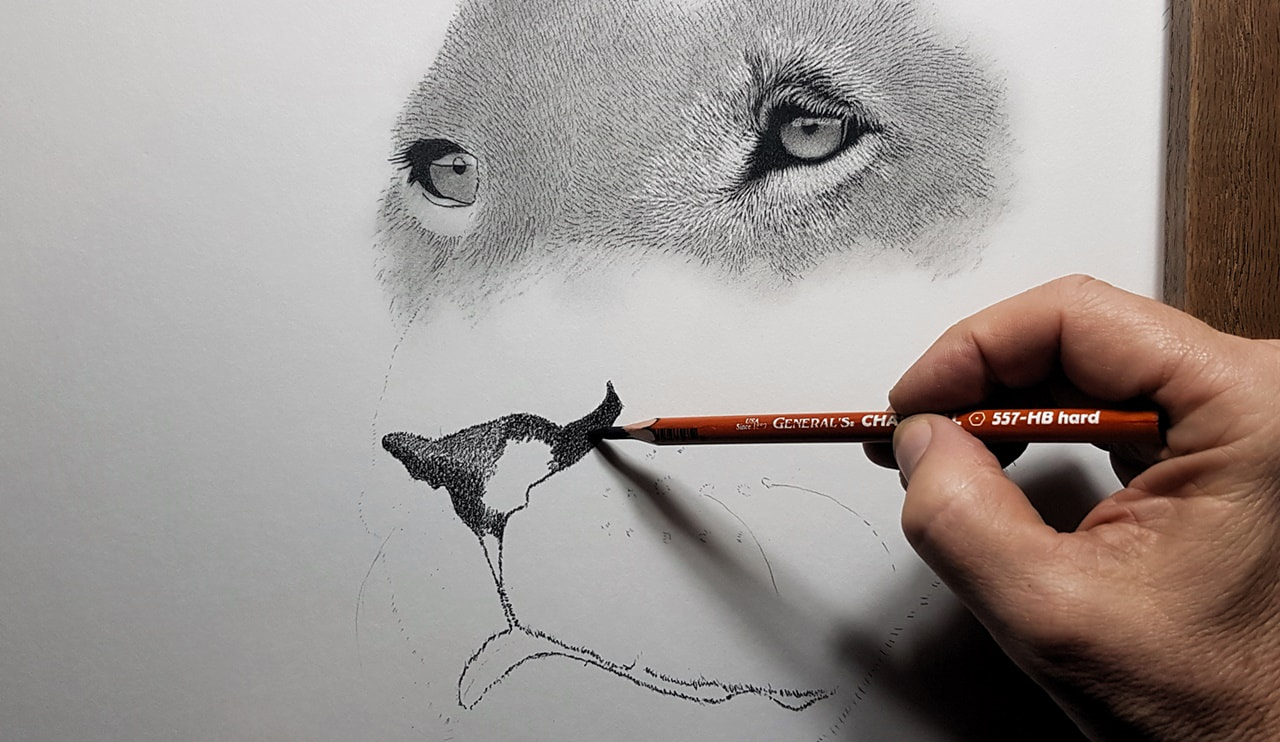
Image 1 shows me filling in the nose and mouth with HB General Charcoal. Notice the I didn't fill the
shine mark of the nose and lip to dark.
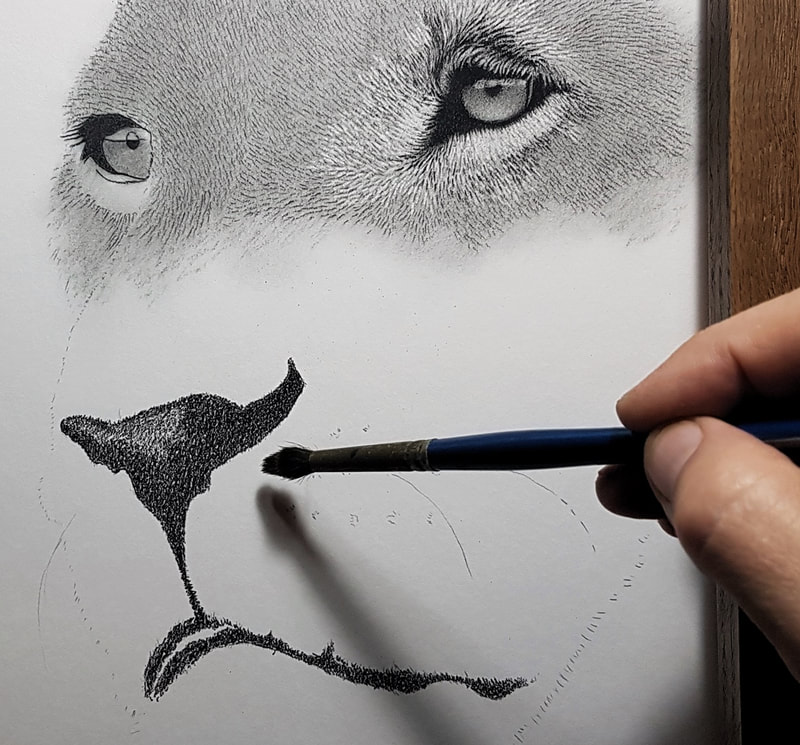
Image 2 shows that I'm getting ready to blend the nose and mouth with my brush.
Image 3 shows how the blending fills in the texture the white board for a smooth tone.
This area will be detailed and darkened at a later time.
shine mark of the nose and lip to dark.
Image 2 shows that I'm getting ready to blend the nose and mouth with my brush.
Image 3 shows how the blending fills in the texture the white board for a smooth tone.
This area will be detailed and darkened at a later time.
Image 1 shows me adding #3 hard charcoal to darken the area prior to detailing.
Image 2 just shows the continuation of #3 hard charcoal covering more area.
Image 3 indicates the completion of darkening a strategic area with #3 hard charcoal.
Image 2 just shows the continuation of #3 hard charcoal covering more area.
Image 3 indicates the completion of darkening a strategic area with #3 hard charcoal.
Image 1 shows the detail direction pattern stroking with HB General charcoal prior to the eraser technique highlighting.
Images 2 and 3 shore the continuation of the direction detailing of the fur with the #3 General charcoal pencil.
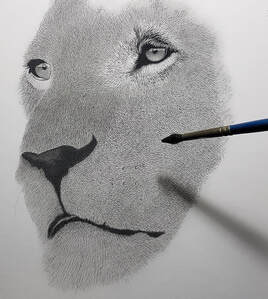
Now that the specific area that was detailed will now be blended with the brush leaving a smooth pattern of darker detailed fur direction strokes.
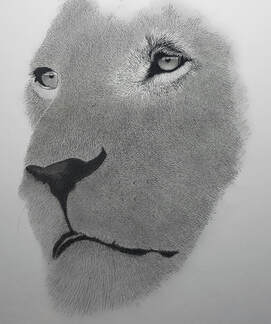
This image shows the whole area that I detailed blended and now ready for eraser highlighting.
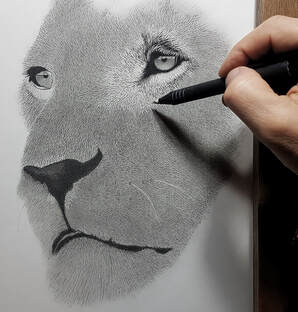
The final image in this 3rd WIP post shows me using my tube eraser applicator
to highlight in between the direction strokes. the tube eraser is cylindrical so for a good point I used my sandpaper to sharpen the tip. The blended charcoal allows enough contrast to indicate a good highlight to work from. When I go back to darken strategically I will use my #3 General charcoal to accent the shadows and blotch patterns of depth according to my reference. As you can see I revisit the same area repeatedly to capture the realism created be tonal depth. Now you know why this type of work is very time consuming but very rewarding!!
to highlight in between the direction strokes. the tube eraser is cylindrical so for a good point I used my sandpaper to sharpen the tip. The blended charcoal allows enough contrast to indicate a good highlight to work from. When I go back to darken strategically I will use my #3 General charcoal to accent the shadows and blotch patterns of depth according to my reference. As you can see I revisit the same area repeatedly to capture the realism created be tonal depth. Now you know why this type of work is very time consuming but very rewarding!!
Start of Post 2 WIP (April 2, 2020)
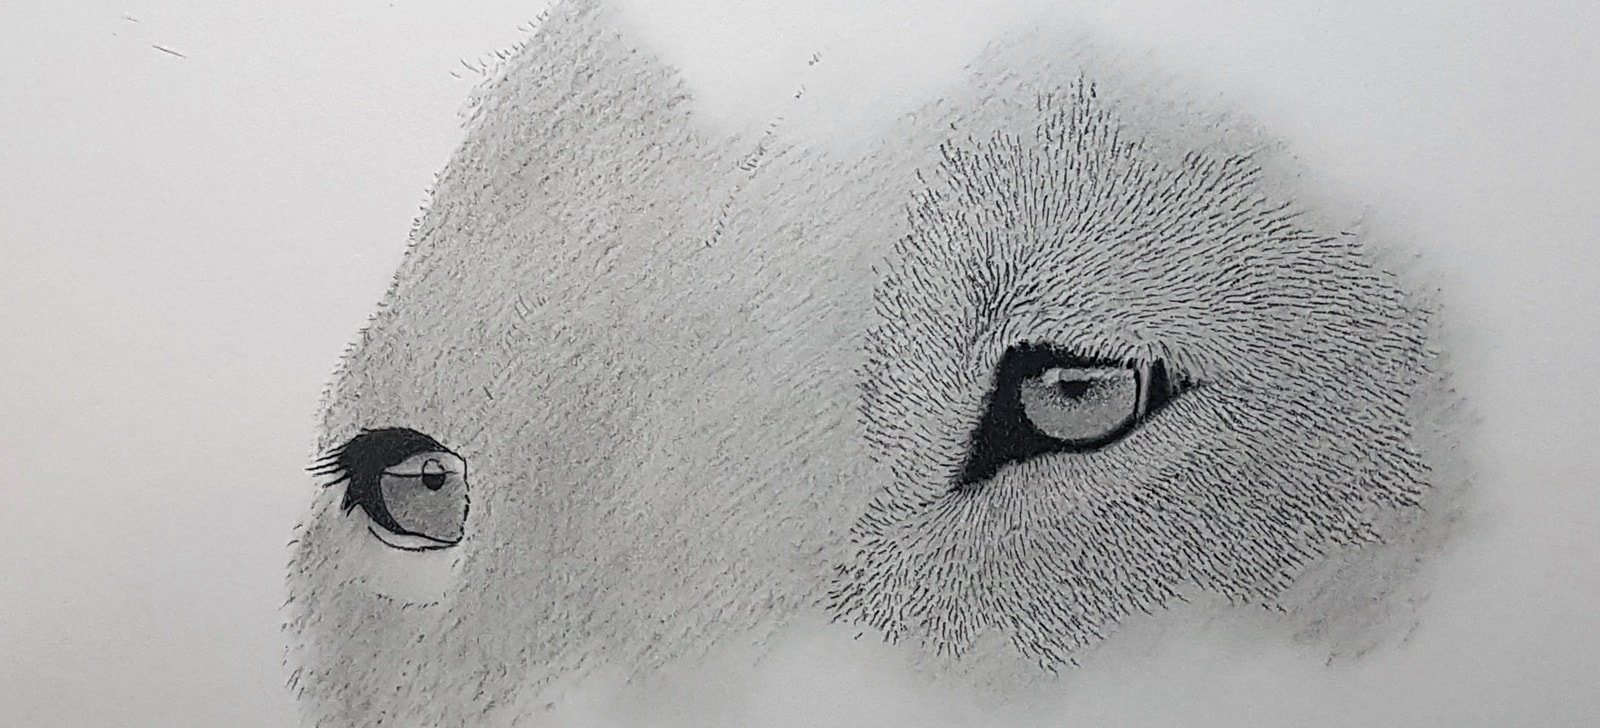
The first image depicts the continuation of fur direction paying attention to how dark and light the areas will be.
The second image shows further mapping of fur direction and a bit of darkening in the pupil.
The third image indicates more #3 hard charcoal blending. The stage prior fur direction mapping. Also repeating the 2nd eye filling as I did for the first eye.
The second image shows further mapping of fur direction and a bit of darkening in the pupil.
The third image indicates more #3 hard charcoal blending. The stage prior fur direction mapping. Also repeating the 2nd eye filling as I did for the first eye.
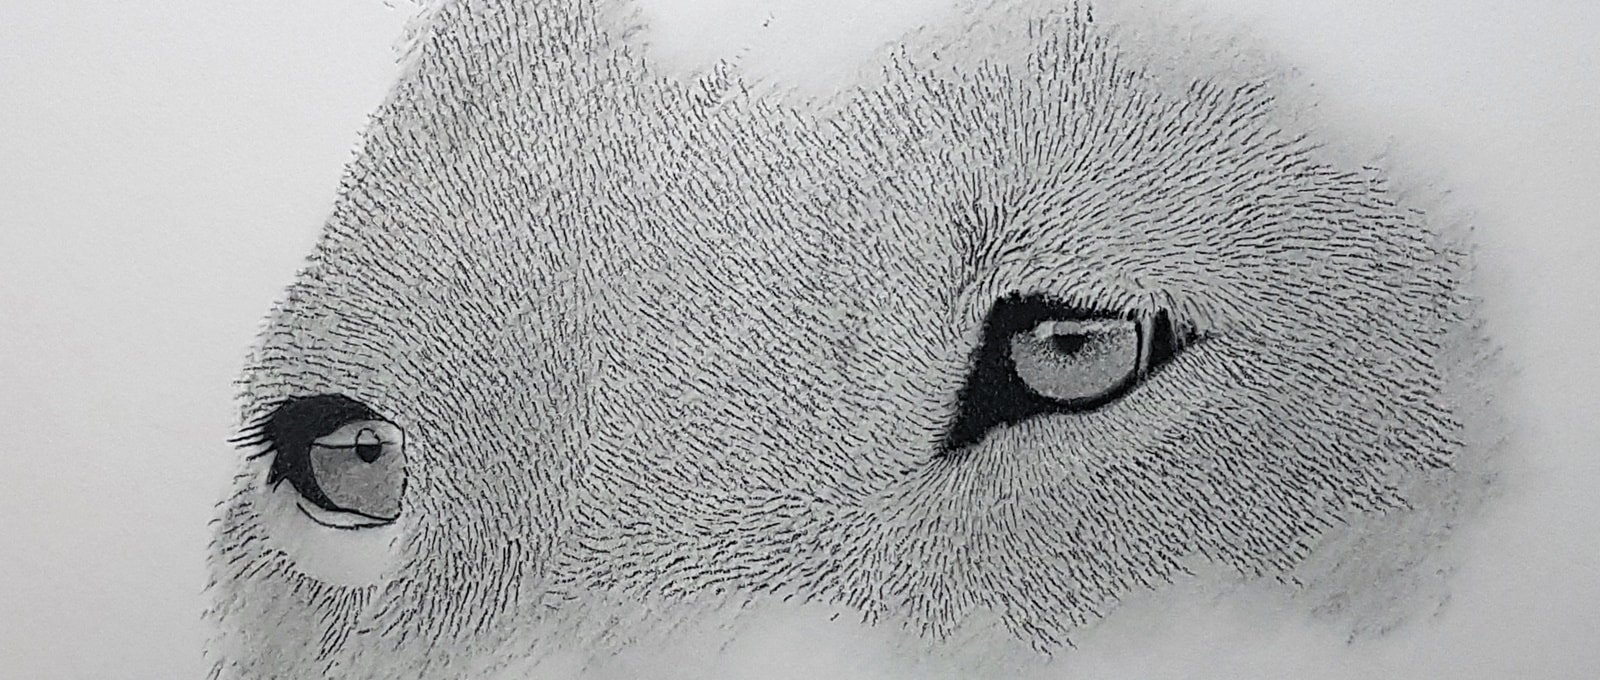
The first image shows the fur direction mapping of this specific area is complete.
The second image shows that I'm blending the direction mapping charcoal which adds to the darkness of the shade. This will allow me to use my eraser technique to create highlights. So the fur mapping stage is really the fur shadow illusion.
The third image indicates the completion of the blending of that specific area.
Now that the blending of this area is complete I will proceed to use my pencil eraser to initiate highlighted fur pattern areas. Now paying attention to the reference photo is critical to pick up all the characteristics of the fur highlights and shadows. It will be a back and forth application of HB charcoal and eraser removal to capture this realistic definition.
Image three shows the application of HB charcoal.
Image three shows the application of HB charcoal.
Image one details more work in that specific area and how it starts to take on more pattern definition and realism. Notice how the light and dark areas are more defined now.
Image two shows that I blend in between these techniques as well to create larger defined shadow areas and will have to go back into these spots to lighten strategically.
Image three shows me using a kneaded eraser in the area I just blended so you can see its always a back and forth layering and removal process. So different from paint which is basically adding all the time!!
Start of Post 1 WIP (April 1, 2020)
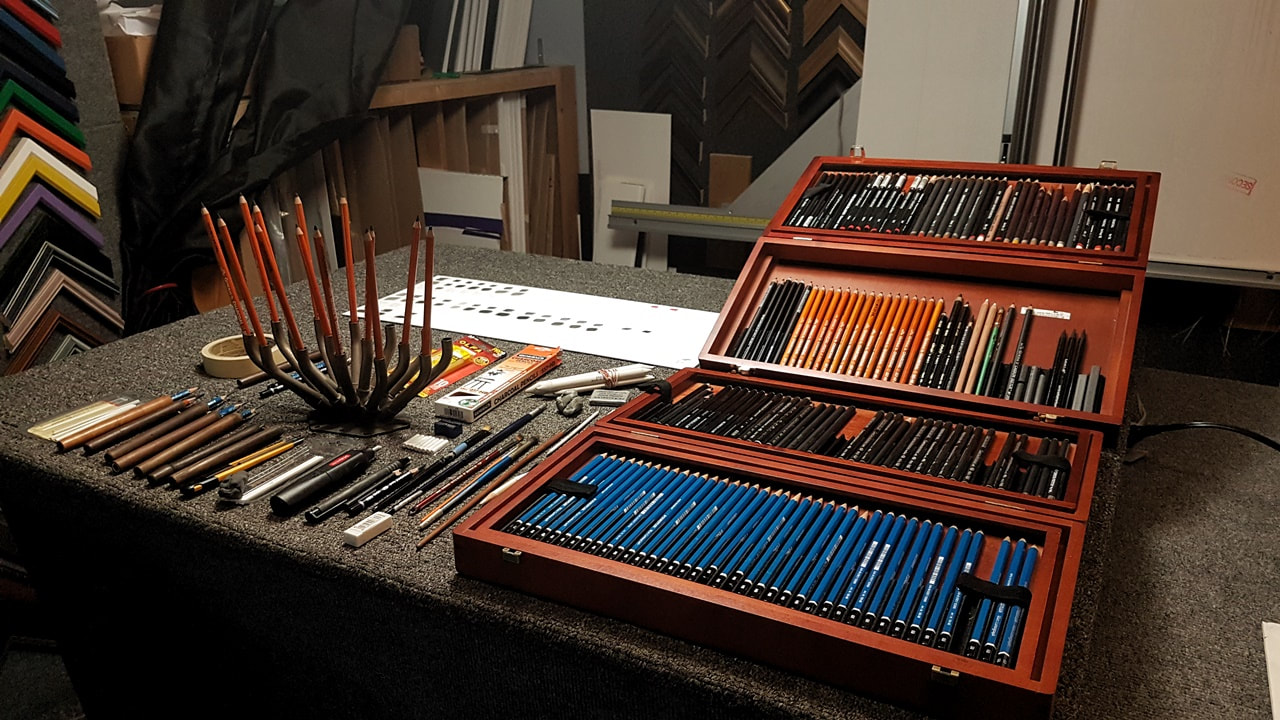
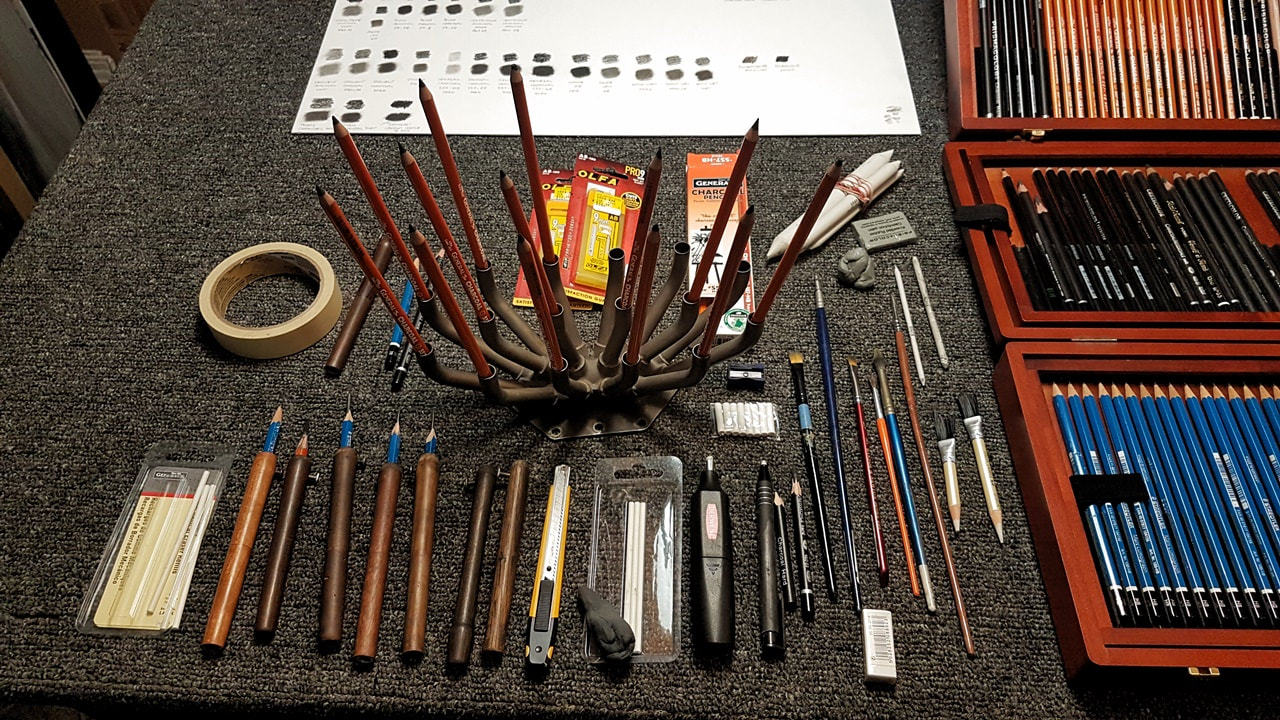
Ok, lets begin by showing you some of the tools of the trade. Here is an assortment of product that I use on any piece that I'm creating grey scale either in graphite, charcoal or a mix of both. You can zoom in to see all the different tools, graphite and charcoal pencils. Of course there are erasers, pencil extenders, brushes for blending, burnishing stumps. I do incorporate battery run erasers for technique and speed. Most important are the number of grades of charcoal and graphite there are. I will introduce the specific role each tool plays as I make my way through the layers of this WIP.
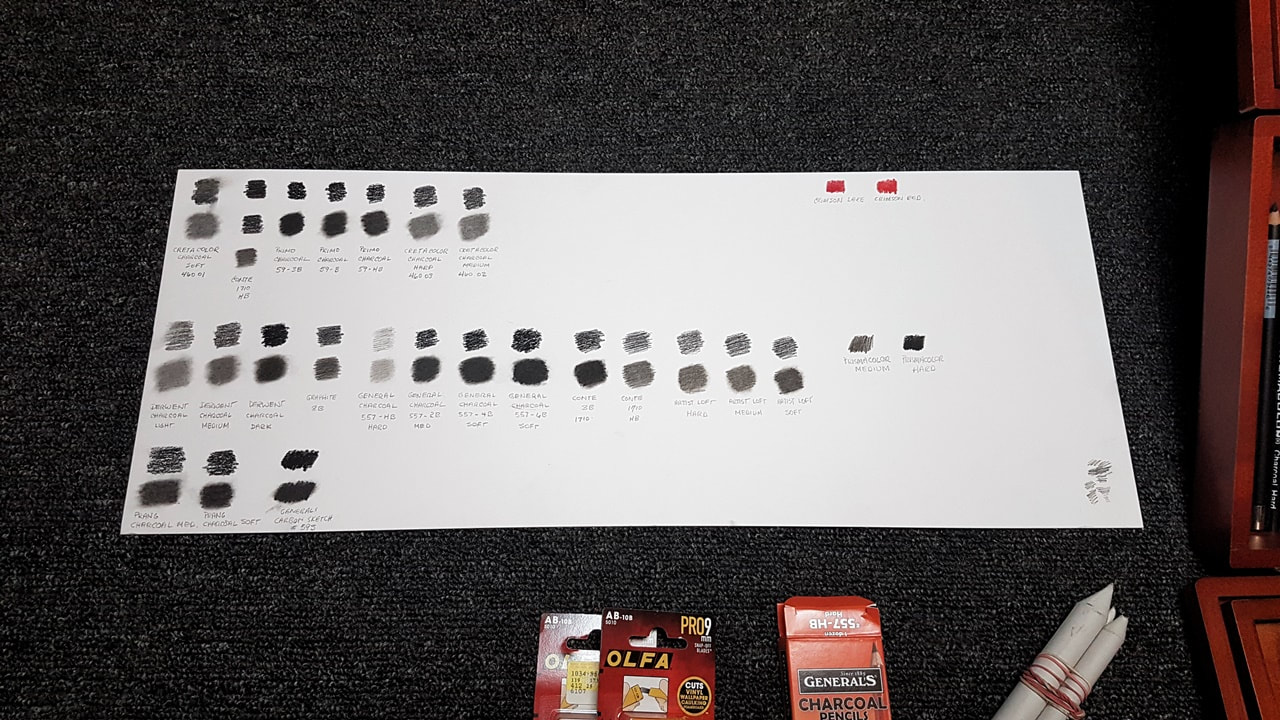
Notice the shade board. It's always nice to create a key for yourself to keep the charcoal shades available for quick reference. after a while you will know but it does help!!
Of course any question regarding a tool or technique during this process please feel free to DM anytime
but be patient waiting for my response and I will get back to you as soon as I can.
but be patient waiting for my response and I will get back to you as soon as I can.
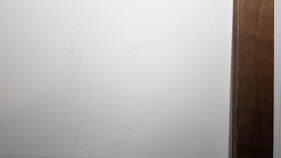
Ok. lets get going. I'm going to keep every summary stage as brief as possible so anything you don't understand don't hesitate to ask.
I've been using a white archival mat board to draw on now for years and find this texture and rigidity perfect for any pencil.
This stage is crucial and defines the proportion and symmetry parameters for the entire project. Now having said that you will have to adjust as you go since it's really just a course outline.
There are many ways to do this such as gridding, point measuring etc. I like to go by eye depending on the complexity or sometimes point measuring. Point measuring is cumbersome but exact and depending on your experience determines the amount of time for this process. Point measuring requires a reference photo the same size as your rendering. Quickly, point measuring is something I created but not to say someone else hasn't done this. It's measuring strategic feature points on your subject and filling in and around those proportions by eye. The amount of measurements will be determined by your experience in judging distances. As you shade and fill this will be adjusted. Don't panic it's quite easy just a bit time consuming. Whats great about this porportioning method is that you can double or triple the measurement to increase the size of your piece it's just math but again a bit time consuming. It really helps though, think of the time and frustration you go through trying to get porportions right!!! When I get some time...lol I will create a lesson in detail.
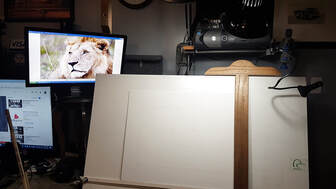
Her is my typical drawing station set up and studio location. I have had many and of course I have a portable one for shows and public demonstrations. As you can see I use a monitor for reference. Detail can be seen by zooming in and out as required. Sitting upright with good posture is imperative!! I use a t bar to rest my had for physical comfort and no smudging. I also use a mahl stick, lower left, for larger pieces that extend past the top of my table. This upright position is also great for less reflection if your using graphite and charcoal falls in stead of accumulating on your work. lol...notice my phone extender clamp!! Ya multiple uses!! That piece of wood hanging down is a camera mount..lol
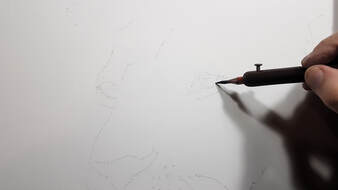
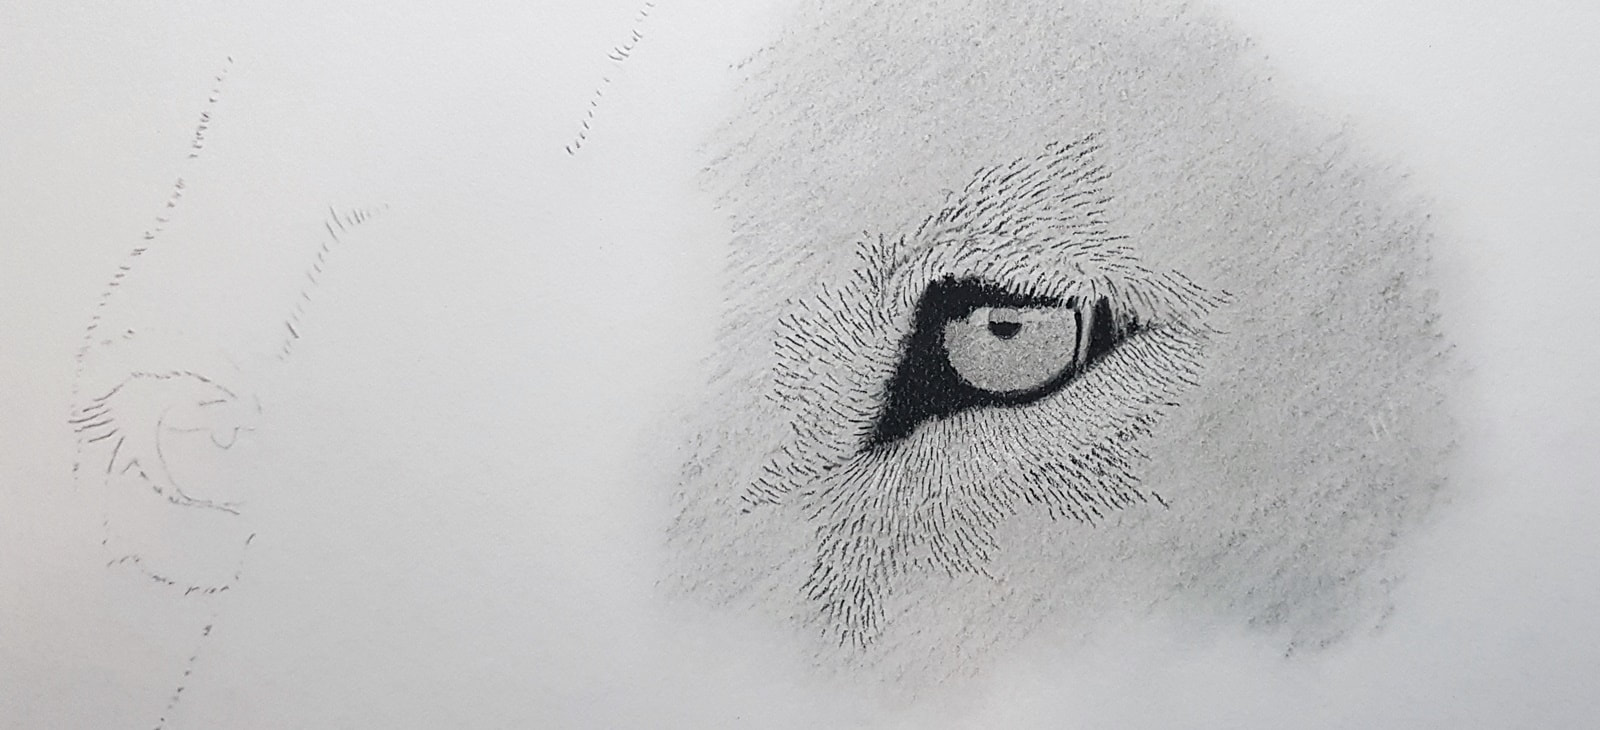
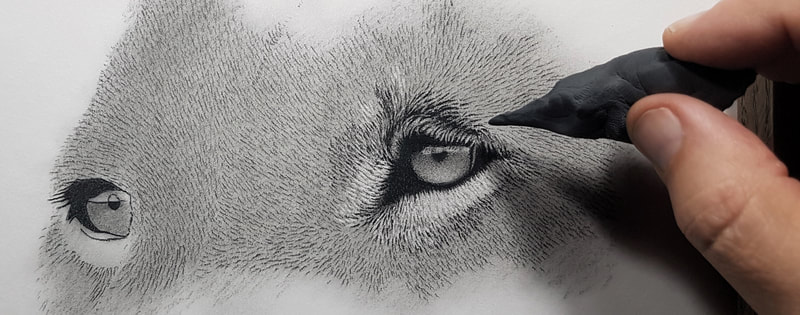
Ok, here we go. Starting with the eye. I will outline the eye detail with a general charcoal HB pencil. This pencil is not that soft so less dark but will be dark enough to hold the outline after smudging!
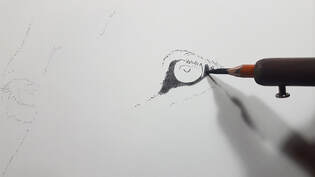
Next step will be to fill in the dark of the eye with HP charcoal again not the darkest charcoal yet. Remember all these techniques are done in stages to allow for easy removal if required. of course each process is carried out paying close attention to the detail of your reference photo.
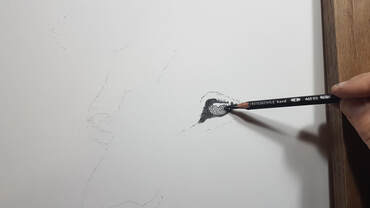
In this step I'm filling the pupil with a #3 Cretacolor hard charcoal pencil. The number charcoal will be fairly light once smudged so the contrast between the dark areas will be visable.
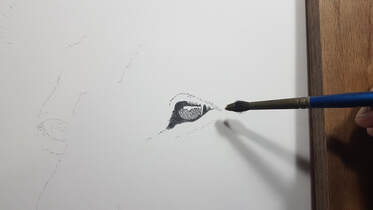
Completed now ready for blending with a strategic sized paint brush. Soft brush for a nice even blend. Keeping your shades tight allows for a better blend so keep that in mind.
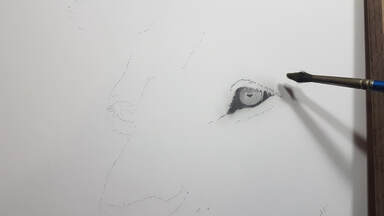
After blending. Notice the contrast difference. The more smooth and even you can keep the blend the better. This will really pay off when it comes to negative detail, kneaded eraser techniques.
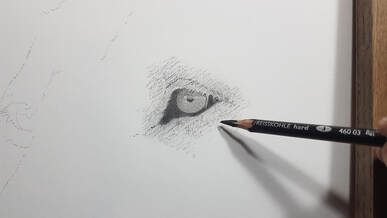
Now, with same #3 hard charcoal pencil I will fill in the surrounding area in preparation for more blending.
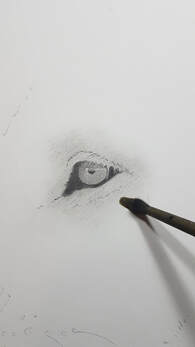
Now I will blend using the same soft brush nice and even. If you find it's not as even as you would like just add more charcoal and repeat as neccessary.
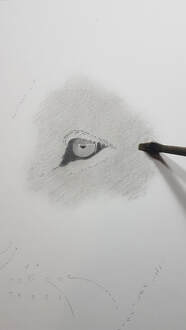
As you can see I've extended the area and added more density to the blended #3 charcoal area. This will allow me to add and remove detail in the later stages.
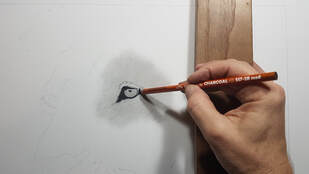
I'm now adding a dark layer of 2B general charcoal pencil to the darkest part of the eye. This part of the eye may even require 4B charcoal later but 2B could be dark enough. This layer will not be blended. Blending would creep outside the dark border and that would effect the lighter areas!!
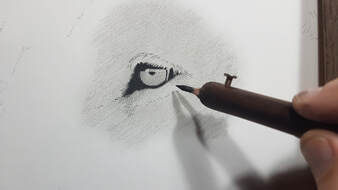
I'm now ready to create the fur pattern with HB General charcoal pencil. Note, I sharpen my pencil with an exacto knife for a nice point and is long as I can. This allows for less sharpening and more shading time. It gets tricky though the softer the charcoal. The trick is to keep it fairly light so darkening and removing is easier during the later stages. This is to develop the fur directions.
This concludes the WIP for Post 1. Hope you are following ok, it's very hard to keep it brief, so feel free to ask questions but be patient for a response.
Thanks for engaging my friends!!!
Thanks for engaging my friends!!!
